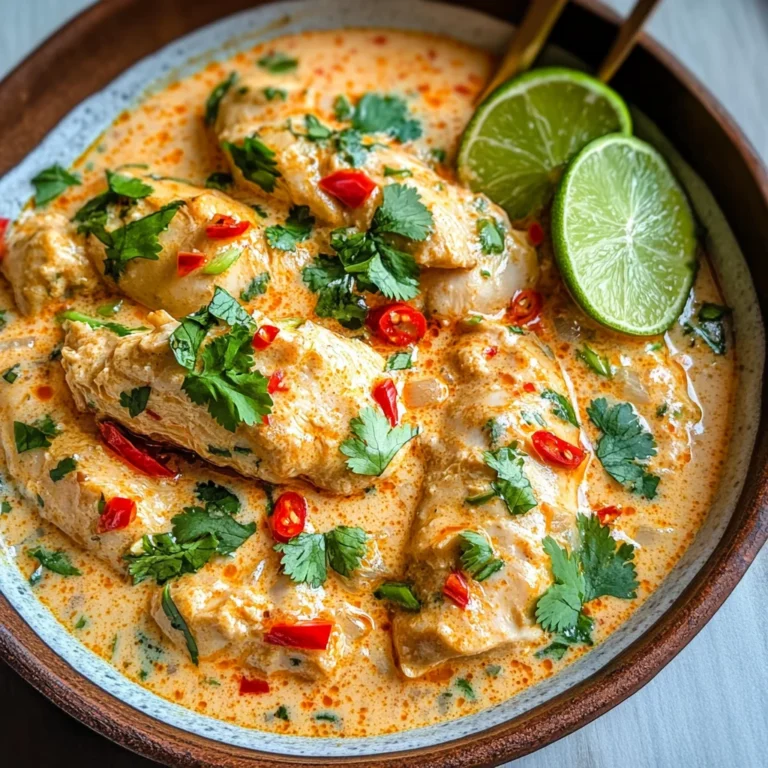
Thai Peanut Chicken
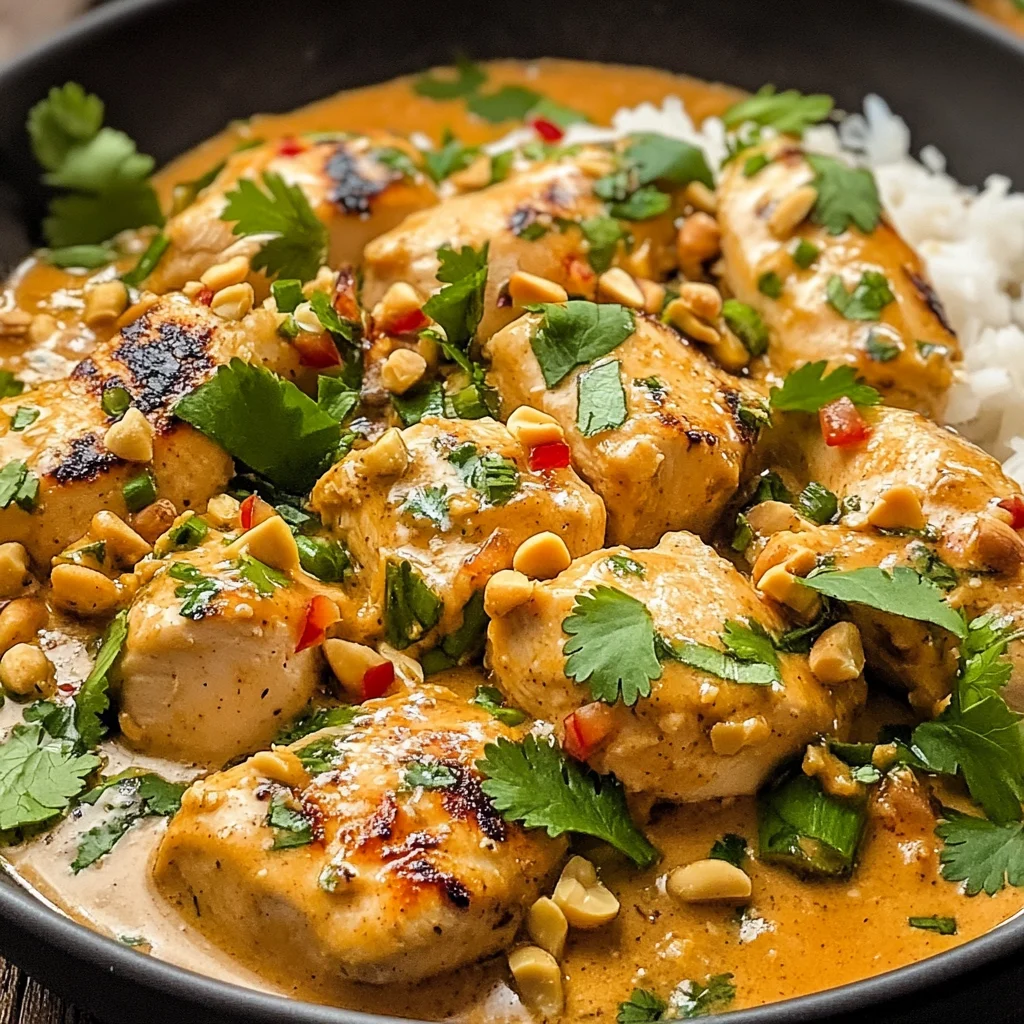
If you’re looking for a quick and delicious meal that will impress your family or friends, you’ve come to the right place! Thai Peanut Chicken is one of those recipes that feels special yet is so easy to whip up. The combination of tender chicken and a creamy peanut sauce creates a flavor explosion that’s hard to resist. Plus, it comes together in under 30 minutes, making it a lifesaver for busy weeknights or last-minute gatherings.
What I love most about this dish is its versatility. You can serve it over rice or noodles, and it’s always a hit! Whether you’re cooking for your family or hosting friends, this Thai Peanut Chicken is sure to be a winner at the dinner table.
Why You’ll Love This Recipe
- Easy to Prepare: This dish comes together in just 25 minutes, making it perfect for any night of the week.
- Family-Friendly Appeal: With its creamy peanut sauce and tender chicken, even picky eaters will ask for seconds!
- Make-Ahead Convenience: You can marinate the chicken ahead of time for deeper flavors without extra effort on cooking day.
- Delicious Flavor: The blend of garlic, soy sauce, and peanut butter creates a mouthwatering taste that everyone will love.
Ingredients You’ll Need
Gathering these simple and wholesome ingredients is half the fun! You’ll find everything you need right at your local grocery store. Let’s dive into what you’ll need for this delightful Thai Peanut Chicken.
For the Chicken
- 4 boneless, skinless chicken breasts (about 1.5 lbs)
- Salt and pepper to taste
For the Sauce
- 2 cloves fresh garlic, minced
- 1/4 cup low-sodium soy sauce
- 1/3 cup creamy natural peanut butter
- 1/2 cup full-fat coconut milk
- 1 tablespoon vegetable oil
Variations
One of the best things about this recipe is how flexible it can be! Feel free to make it your own with these fun variations:
- Add More Veggies: Toss in some colorful bell peppers or snap peas for added nutrition and crunch.
- Swap the Protein: Use tofu or shrimp instead of chicken for a different twist on this classic dish.
- Spice It Up: If you love heat, add some red pepper flakes or sriracha to the sauce for an extra kick.
- Switch Up the Base: Serve over quinoa or cauliflower rice for a healthy alternative to traditional rice or noodles.
How to Make Thai Peanut Chicken
Step 1: Prepare the Chicken
Start by cutting the chicken breasts into bite-sized pieces and seasoning them with salt and pepper. This step is important because seasoning helps enhance the overall flavor of the dish.
Step 2: Cook the Chicken
In a large skillet over medium-high heat, add vegetable oil. Once hot, add the seasoned chicken pieces. Cook until they are browned and cooked through, about 5-7 minutes. Removing from heat ensures they stay juicy while we prepare our sauce.
Step 3: Sauté Garlic
In the same skillet, reduce heat to medium and add minced garlic. Sautéing garlic until fragrant—just about one minute—is key to bringing out its delicious flavor without burning it.
Step 4: Make the Sauce
Stir in soy sauce, creamy peanut butter, and full-fat coconut milk; mix well until everything is combined smoothly. This rich sauce is what makes Thai Peanut Chicken truly stand out!
Step 5: Combine Everything
Return the cooked chicken back into the skillet. Stir gently until every piece is coated in that luscious peanut sauce. Allow it to simmer for a few minutes so everything gets heated through.
Step 6: Serve & Enjoy!
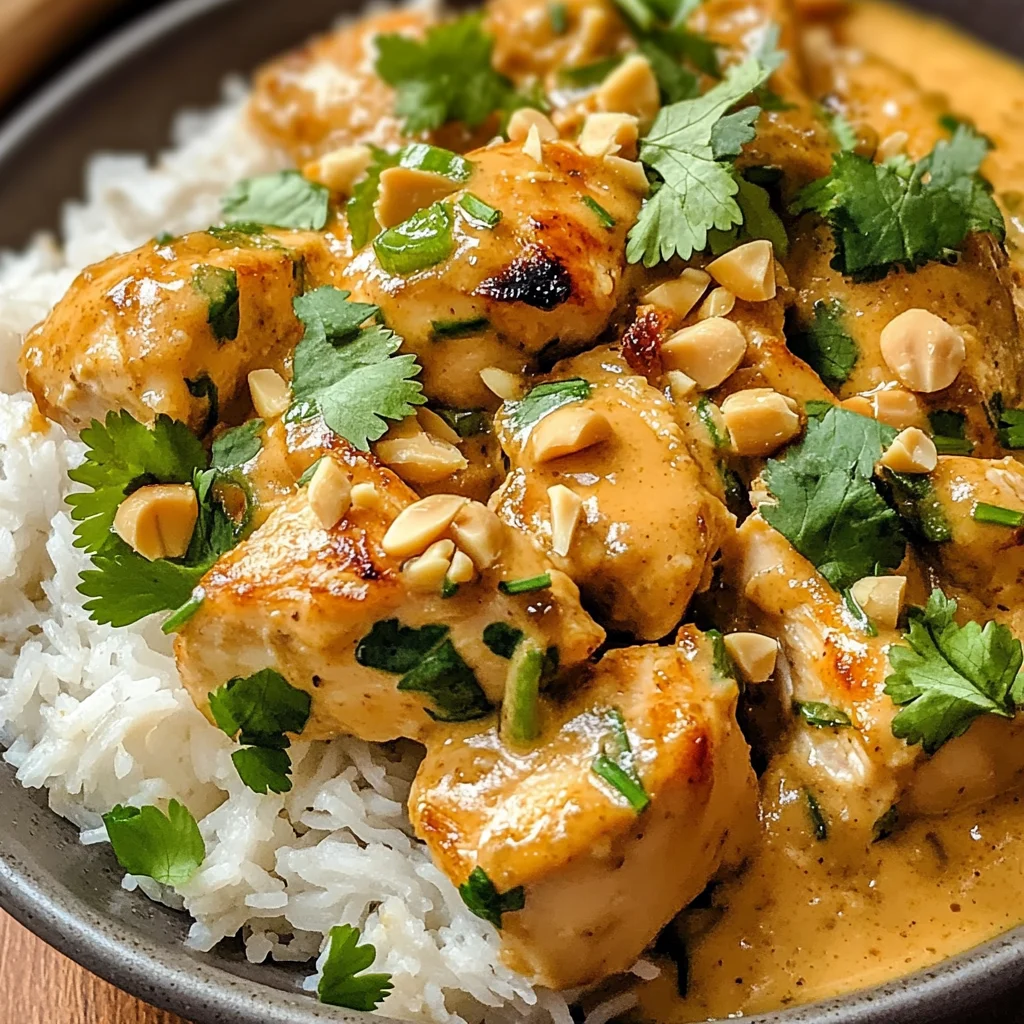
Serve warm and garnish with chopped peanuts or cilantro if desired. Enjoy your homemade Thai Peanut Chicken over rice or noodles for an unforgettable meal!
Now you’re ready to share this delightful dish with your loved ones—enjoy every bite!
Pro Tips for Making Thai Peanut Chicken
This Thai Peanut Chicken is not only easy to prepare but also packed with flavor, and a few simple tips can take your dish to the next level!
-
Marinate for Maximum Flavor: If time permits, marinating the chicken in soy sauce and garlic for at least an hour before cooking allows the flavors to penetrate deeply, resulting in a more flavorful dish.
-
Use Fresh Ingredients: Opting for fresh garlic instead of pre-minced options enhances the aroma and taste of your sauce, making it more vibrant and delicious.
-
Customize with Veggies: Adding vegetables like bell peppers or snap peas not only boosts nutrition but also adds texture and color, making your meal even more appealing.
-
Adjust Consistency: If you prefer a thinner sauce, simply add a splash of water or extra coconut milk to achieve your desired consistency without losing flavor.
-
Double the Recipe: This dish freezes beautifully! Consider making a double batch so you have a quick meal on hand for those busy nights when cooking feels impossible.
How to Serve Thai Peanut Chicken
Serving Thai Peanut Chicken can be as creative as it is delicious! Here are some delightful ways to present this mouthwatering dish that will impress your family and friends.
Garnishes
- Chopped Peanuts: Sprinkle chopped peanuts on top for added crunch and nutty flavor that complements the creamy peanut sauce.
- Fresh Cilantro: A handful of fresh cilantro adds a pop of color and freshness that balances the richness of the dish.
- Lime Wedges: Serve lime wedges on the side; a squeeze of fresh lime juice brightens up the flavors beautifully.
Side Dishes
- Jasmine Rice: Fluffy jasmine rice is a classic pairing that soaks up the flavorful sauce perfectly, providing a comforting base for your meal.
- Steamed Broccoli: Lightly steamed broccoli adds both color and nutrients, making it a healthy side that pairs well with the rich chicken.
- Cucumber Salad: A refreshing cucumber salad dressed with lime juice offers a crisp contrast to the warm chicken, enhancing the overall dining experience.
- Rice Noodles: For a twist, serve this dish over rice noodles. They soak up the sauce wonderfully and provide an alternative carb option that’s equally satisfying.
With these tips and serving suggestions, your Thai Peanut Chicken will not only taste fantastic but also look stunning on your dinner table! Enjoy every bite!
Make Ahead and Storage
This Thai Peanut Chicken recipe is fantastic for meal prep! You can cook a batch ahead of time, making it a great option for busy days or quick dinners throughout the week.
Storing Leftovers
- Store any leftover Thai Peanut Chicken in an airtight container.
- Keep it in the refrigerator for up to 3-4 days.
- If you plan to eat it later, consider separating the chicken from the sauce to maintain texture.
Freezing
- Allow the dish to cool completely before freezing.
- Transfer chicken and sauce into a freezer-safe container or bag.
- Label with the date and freeze for up to 3 months.
Reheating
- Thaw overnight in the refrigerator before reheating.
- Reheat on the stovetop over low heat until warmed through, stirring occasionally.
- Alternatively, microwave in short intervals, stirring between until hot.
FAQs
Here are some common questions about making Thai Peanut Chicken.
Can I use other proteins instead of chicken?
Absolutely! This recipe works well with tofu, shrimp, or even beef. Just adjust cooking times accordingly.
How do I make Thai Peanut Chicken gluten-free?
To make this dish gluten-free, simply substitute low-sodium soy sauce with tamari or coconut aminos.
What sides go well with Thai Peanut Chicken?
Serve it over jasmine rice, brown rice, or noodles. Adding steamed vegetables on the side also complements this dish beautifully!
Can I customize my Thai Peanut Chicken?
Definitely! Feel free to add your favorite vegetables like bell peppers or snap peas for added nutrition and color.
How can I adjust the spice level?
If you prefer more heat, add red pepper flakes or a splash of sriracha when cooking the sauce. Adjust according to your taste preference!
Final Thoughts
I hope you enjoy making this delightful Thai Peanut Chicken as much as I do! It’s a perfect blend of flavors that brings warmth and satisfaction to any table. Whether it’s for a casual weeknight dinner or a gathering with friends, this dish is sure to impress. Don’t hesitate to experiment and make it your own – happy cooking!
Thai Peanut Chicken

Thai Peanut Chicken is a quick and flavorful dish that will undoubtedly impress your family and friends. This recipe combines tender chicken with a creamy and nutty peanut sauce, creating a delightful flavor profile that’s hard to resist. With only 25 minutes needed for preparation and cooking, this meal is perfect for busy weeknights or spontaneous gatherings. Serve it over rice or noodles, and you’re set for a delicious dinner that will have everyone coming back for seconds!
- Prep Time: 10 minutes
- Cook Time: 15 minutes
- Total Time: 25 minutes
- Yield: Serves 4
- Category: Main
- Method: Stir-frying
- Cuisine: Thai
Ingredients
- 4 boneless, skinless chicken breasts (about 1.5 lbs)
- Salt and pepper to taste
- 2 cloves fresh garlic, minced
- 1/4 cup low-sodium soy sauce
- 1/3 cup creamy natural peanut butter
- 1/2 cup full-fat coconut milk
- 1 tablespoon vegetable oil
Instructions
- Cut the chicken breasts into bite-sized pieces and season with salt and pepper.
- Heat vegetable oil in a large skillet over medium-high heat. Add the chicken and cook until browned and cooked through, about 5-7 minutes.
- Lower the heat to medium, add minced garlic to the same skillet, and sauté for about one minute until fragrant.
- Stir in soy sauce, peanut butter, and coconut milk until well combined.
- Return the cooked chicken to the skillet, stirring gently to coat with the sauce. Allow to simmer for a few minutes.
- Serve warm over rice or noodles, garnished with chopped peanuts or cilantro if desired.
Nutrition
- Serving Size: 1 cup (240g)
- Calories: 410
- Sugar: 5g
- Sodium: 700mg
- Fat: 27g
- Saturated Fat: 10g
- Unsaturated Fat: 14g
- Trans Fat: 0g
- Carbohydrates: 19g
- Fiber: 3g
- Protein: 24g
- Cholesterol: 70mg