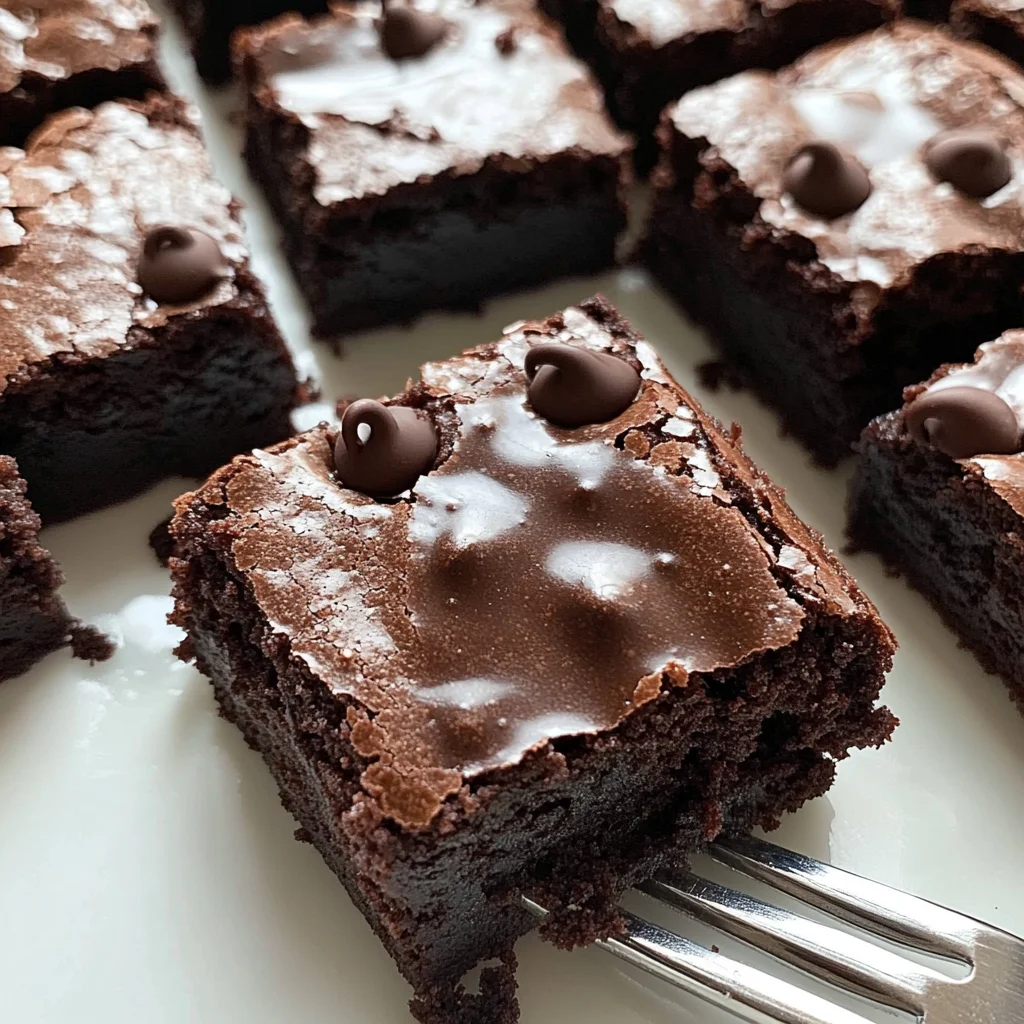
Greek Yogurt Brownies Recipe
If you’re looking for a delightful dessert that satisfies your chocolate cravings without the guilt, you’ve come to the right place! This Greek Yogurt Brownies Recipe is one of my favorite treats to whip up when I need something special. The combination of rich chocolate and the creaminess of Greek yogurt results in brownies that are both moist and fudgy, yet lighter than traditional recipes. Whether it’s a busy weeknight, a family gathering, or just a cozy night at home, these brownies are perfect for any occasion.
What I love most about this recipe is how simple it is. You can have these delicious brownies ready in no time! Plus, they’re a hit with kids and adults alike. Trust me; once you try these Greek yogurt brownies, they will become a staple in your home.
Why You’ll Love This Recipe
- Healthier Indulgence: Enjoy the rich chocolate flavor while using Greek yogurt to cut down on fat.
- Quick and Easy: With only 10 minutes of prep time, you can get these brownies baking in no time!
- Family-Friendly: Kids will love them! They taste so good that they won’t even notice they’re healthier.
- Versatile Treat: Perfect for any occasion whether it’s a casual get-together or an after-dinner dessert.
- Make-Ahead Option: These brownies store well, making them great for meal prep or last-minute sweet cravings.
Ingredients You’ll Need
Let’s gather some simple and wholesome ingredients to make our delightful Greek Yogurt Brownies. You likely have many of these items already in your pantry!
- 1/2 cup (120g) plain Greek yogurt (preferably full-fat or 2%)
- 1/2 cup (115g) unsweetened applesauce
- 1/2 cup (100g) granulated sugar or coconut sugar
- 2 large eggs
- 1 teaspoon vanilla extract
- 1/2 cup (60g) all-purpose flour (or whole wheat flour for a healthier option)
- 1/2 cup (50g) unsweetened cocoa powder
- 1/4 teaspoon baking powder
- 1/4 teaspoon salt
- 1/2 cup (90g) dark chocolate chips (optional for extra richness)
Variations
One of the best parts about this recipe is its flexibility. Here are some fun ways to switch it up:
- Add Nuts: Toss in some chopped walnuts or pecans for added crunch and flavor.
- Flavor Boost: Experiment with different extracts like almond or orange to give your brownies a unique twist.
- Dried Fruits: Incorporate dried cherries or cranberries for a fruity surprise in each bite.
- Swirl It Up: Create a marbled effect by adding a layer of peanut butter or cream cheese before baking.
How to Make Greek Yogurt Brownies Recipe
Step 1: Preheat Your Oven
First things first—preheat your oven to 350°F (175°C). This is crucial because starting with a hot oven ensures that your brownies bake evenly and rise perfectly.
Step 2: Prepare Your Baking Pan
Grease or line an 8×8-inch baking pan with parchment paper. Lining the pan makes it super easy to remove the brownies later without sticking.
Step 3: Mix Wet Ingredients
In a medium-sized bowl, whisk together the Greek yogurt, applesauce, sugar, eggs, and vanilla extract until smooth and well combined. This step blends all those lovely flavors together while ensuring the yogurt provides that nice moisture we want in our brownies.
Step 4: Combine Dry Ingredients
In another bowl, whisk together the flour, cocoa powder, baking powder, and salt. Mixing dry ingredients separately helps distribute the baking powder and salt evenly throughout your batter.
Step 5: Mix Wet and Dry Ingredients
Gradually add the dry ingredients into the wet ingredients, stirring until just combined. Remember not to overmix! A thick batter is what we’re aiming for—this ensures fudgy brownies rather than cakey ones.
Step 6: Add Chocolate Chips
If you’re feeling indulgent, fold in those dark chocolate chips now. They melt beautifully during baking and add pockets of gooey goodness throughout your brownies.
Step 7: Pour into Pan
Pour the batter into your prepared baking pan and spread it evenly. This helps ensure that every brownie bakes uniformly.
Step 8: Bake
Place your pan in the preheated oven and bake for about 25-30 minutes. Keep an eye on them! A toothpick inserted into the center should come out mostly clean but may have a few moist crumbs—that’s perfect!
Step 9: Cool Down
Allow the brownies to cool in the pan for about 10 minutes before transferring them to a wire rack to cool completely. This step lets them set properly so they’re easier to cut later.
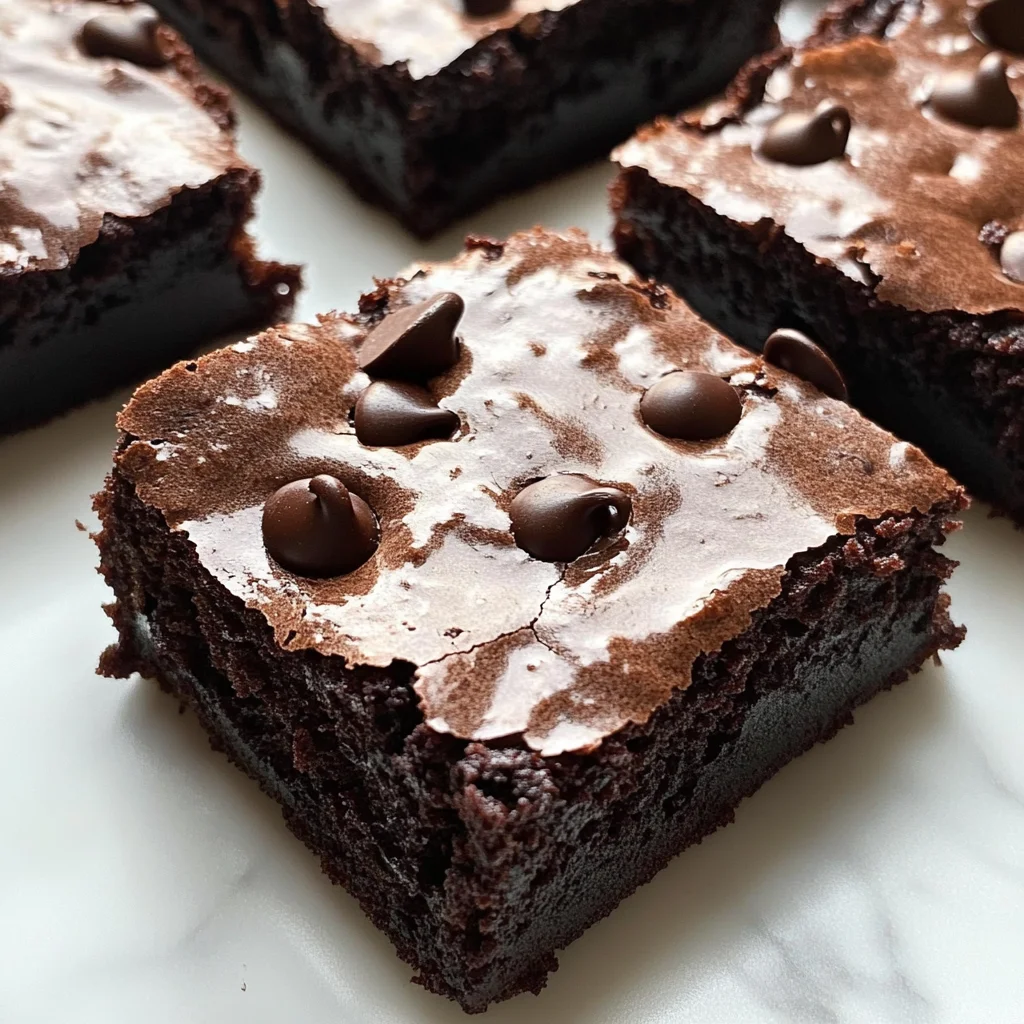
Step 10: Slice & Enjoy!
Once cooled, cut into squares and enjoy your delicious homemade Greek Yogurt Brownies! These treats are sure to bring smiles all around.
Pro Tips for Making Greek Yogurt Brownies Recipe
Making these Greek yogurt brownies is a breeze, but a few tips can help you achieve the perfect texture and flavor!
-
Use Room Temperature Ingredients: Allowing your eggs and yogurt to come to room temperature before mixing helps them incorporate better, resulting in a smoother batter and ultimately, fudgier brownies.
-
Don’t Overmix the Batter: Once you combine the wet and dry ingredients, mix gently until just combined. Overmixing can lead to dense brownies instead of the light, moist treat we desire.
-
Check for Doneness: Since ovens can vary, start checking for doneness a few minutes before the suggested baking time. A toothpick should come out with a few moist crumbs but not wet batter for that perfect fudgy center.
-
Cool Completely Before Cutting: Patience is key! Allow the brownies to cool completely before slicing; this ensures cleaner cuts and prevents them from crumbling.
-
Experiment with Add-Ins: Feel free to get creative! Add nuts, dried fruit, or even a swirl of nut butter to customize your brownies and enhance their flavor profile.
How to Serve Greek Yogurt Brownies Recipe
These Greek yogurt brownies are delicious on their own, but presenting them attractively can make your dessert even more enticing!
Garnishes
- Powdered Sugar: A light dusting of powdered sugar adds a touch of sweetness and an elegant finish.
- Fresh Berries: Adding a handful of fresh raspberries or strawberries not only enhances the visual appeal but also complements the chocolate with their tartness.
- Mint Leaves: A couple of fresh mint leaves can brighten up your presentation and add a refreshing aroma that pairs beautifully with chocolate.
Side Dishes
- Vanilla Ice Cream: A scoop of creamy vanilla ice cream offers a delightful contrast to the rich brownies. The cold creaminess pairs perfectly with warm brownie squares.
- Whipped Coconut Cream: For a dairy-free option, serve your brownies with whipped coconut cream. It’s light, fluffy, and adds a lovely tropical hint.
- Fruit Salad: A refreshing fruit salad brings brightness and balances out the indulgence of the brownies. Choose seasonal fruits like mangoes, berries, or citrus for variety.
- Coffee or Tea: Serve alongside a warm cup of coffee or herbal tea for an inviting dessert experience that will please both chocolate lovers and those seeking comfort in every bite.
Enjoy indulging in these healthier Greek yogurt brownies while savoring each delicious moment!
Make Ahead and Storage
These Greek Yogurt Brownies are not only delicious but also perfect for meal prep! You can make a batch ahead of time, store them properly, and enjoy them throughout the week.
Storing Leftovers
- Allow the brownies to cool completely before storing.
- Place the brownies in an airtight container at room temperature for up to 3 days.
- For longer freshness, store them in the refrigerator for up to a week.
Freezing
- Cut the brownies into squares before freezing for easy access.
- Wrap each square tightly in plastic wrap or aluminum foil.
- Place wrapped brownies in a freezer-safe container or bag.
- They can be frozen for up to 3 months. Just thaw at room temperature when you’re ready to enjoy!
Reheating
- To enjoy warm brownies, preheat your oven to 350°F (175°C).
- Place the brownie squares on a baking sheet and heat for about 5-10 minutes until warmed through.
- Alternatively, you can microwave a square on low power for about 15-20 seconds.
FAQs
Here are some common questions about the Greek Yogurt Brownies Recipe that might help you out!
Can I use different types of yogurt in this Greek Yogurt Brownies Recipe?
Yes! While plain Greek yogurt is recommended for its creaminess and tangy flavor, you can substitute it with other types of yogurt like regular non-fat yogurt or dairy-free alternatives. Just make sure they are similar in consistency.
How do I know when my Greek Yogurt Brownies are done baking?
The best way to check is by inserting a toothpick into the center. If it comes out mostly clean with a few moist crumbs attached, your brownies are ready. Remember, it’s better to underbake slightly than overbake for that fudgy texture!
Are these Greek Yogurt Brownies suitable for meal prep?
Absolutely! These brownies store well and can be made ahead of time. You can keep them at room temperature for a few days or freeze them for longer storage.
Can I add nuts or other mix-ins to this recipe?
Definitely! Feel free to fold in nuts, dried fruits, or even other chocolate chips into the batter before baking. Just remember that adding ingredients may alter the baking time slightly.
What makes this Greek Yogurt Brownies Recipe healthier than traditional ones?
This recipe uses Greek yogurt and applesauce to replace some of the fat typically found in traditional brownie recipes. This results in fewer calories while keeping them rich and moist—perfect if you’re looking for a lighter dessert option!
Final Thoughts
I hope you find joy in making these delightful Greek Yogurt Brownies! They’re not just a healthier alternative; they’re also incredibly moist and fudgy, making them hard to resist. Whether you’re treating yourself or sharing with friends and family, these brownies will surely impress. Enjoy every bite and happy baking!
Greek Yogurt Brownies

Indulge in the delightful world of desserts with these Greek Yogurt Brownies! This recipe offers a guilt-free way to satisfy your chocolate cravings. Combining rich cocoa and creamy Greek yogurt, these brownies are moist, fudgy, and surprisingly light, making them perfect for any occasion. Whether you’re hosting a gathering or enjoying a quiet night in, these healthier brownies are sure to please both kids and adults alike. With minimal prep time and simple ingredients, you can whip up a batch in no time. Enjoy a delicious treat that won’t weigh you down!
- Prep Time: 10 minutes
- Cook Time: 30 minutes
- Total Time: 40 minutes
- Yield: Approximately 16 servings 1x
- Category: Dessert
- Method: Baking
- Cuisine: American
Ingredients
- 1/2 cup plain Greek yogurt
- 1/2 cup unsweetened applesauce
- 1/2 cup granulated sugar or coconut sugar
- 2 large eggs
- 1 teaspoon vanilla extract
- 1/2 cup all-purpose flour or whole wheat flour
- 1/2 cup unsweetened cocoa powder
- 1/4 teaspoon baking powder
- 1/4 teaspoon salt
- Optional: 1/2 cup dark chocolate chips
Instructions
- Preheat your oven to 350°F (175°C) and prepare an 8×8-inch baking pan by greasing it or lining it with parchment paper.
- In a medium bowl, whisk together the Greek yogurt, applesauce, sugar, eggs, and vanilla extract until smooth.
- In another bowl, mix the flour, cocoa powder, baking powder, and salt.
- Gradually combine the dry ingredients with the wet mixture until just mixed; avoid overmixing.
- Fold in dark chocolate chips if using.
- Pour the batter into the prepared pan and spread evenly.
- Bake for about 25-30 minutes or until a toothpick comes out mostly clean with a few moist crumbs.
- Let cool for 10 minutes before transferring to a wire rack to cool completely. Slice into squares and enjoy!
Nutrition
- Serving Size: 1 brownie (approximately 40g)
- Calories: 120
- Sugar: 9g
- Sodium: 50mg
- Fat: 4g
- Saturated Fat: 2g
- Unsaturated Fat: 2g
- Trans Fat: 0g
- Carbohydrates: 19g
- Fiber: 2g
- Protein: 3g
- Cholesterol: 20mg