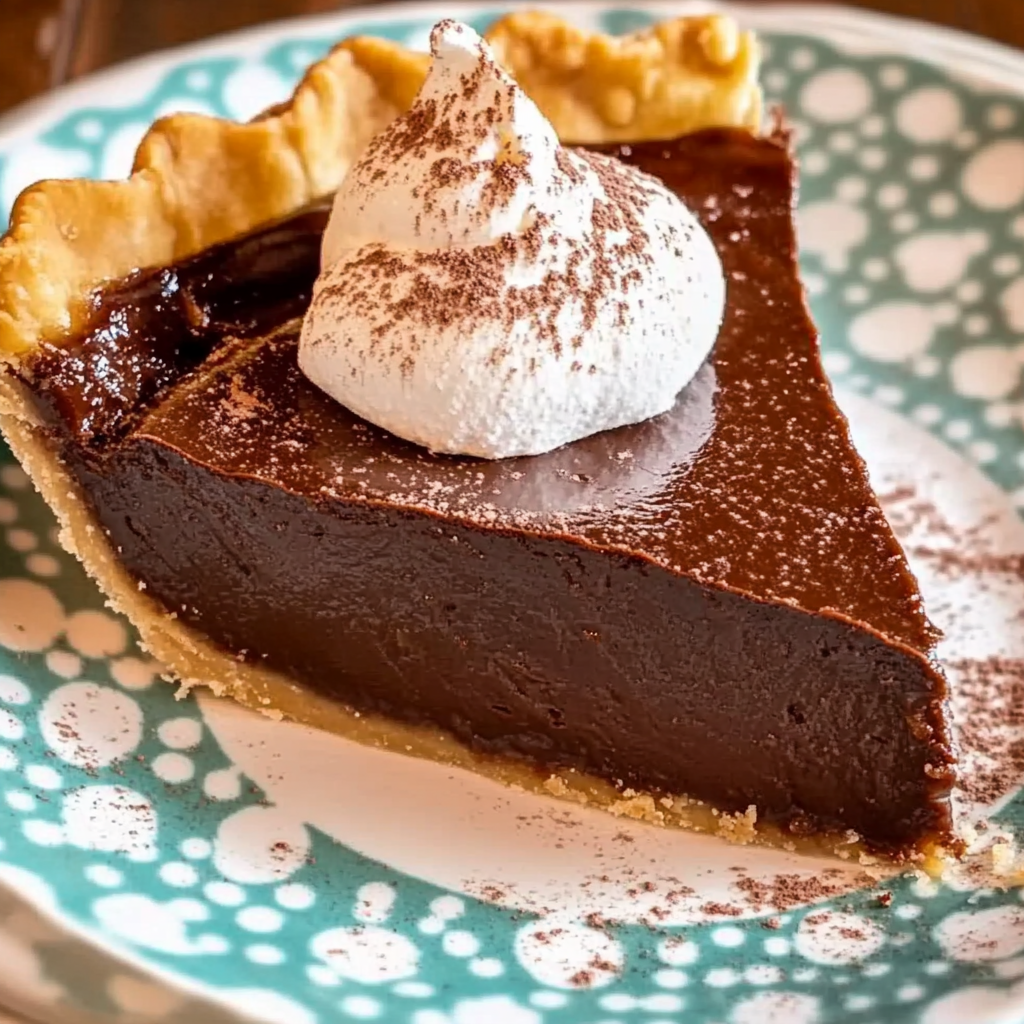
Grandma’s Chocolate Pie
If you’re looking for a dessert that brings back memories of family gatherings and warm kitchens, then Grandma’s Chocolate Pie is the answer. This recipe has been passed down through generations, each bite filled with love and nostalgia. Whether it’s a busy weeknight or a special occasion, this pie is the perfect way to treat yourself and your loved ones. Its rich chocolate flavor and creamy texture make it a crowd-pleaser every single time!
This pie isn’t just a sweet indulgence; it’s an experience that fills the room with warmth and joy. I can’t tell you how many times this pie has graced our table during birthdays, holidays, and even simple Sunday dinners. Each slice tells a story, and it’s sure to become one of your favorites too!
Why You’ll Love This Recipe
- Easy to Make: With just a few simple steps, you can whip up this delightful dessert in under an hour!
- Family-Friendly Appeal: Kids and adults alike can’t resist the rich chocolate filling—perfect for family gatherings.
- Make-Ahead Convenience: Bake this pie ahead of time and store it for later; it tastes fantastic even after a day or two!
- Delicious Flavor: The combination of smooth chocolate and buttery crust will leave everyone asking for seconds.
- Customizable: Add your favorite toppings or mix-ins to make this pie uniquely yours!
Ingredients You’ll Need
Creating Grandma’s Chocolate Pie is all about using simple, wholesome ingredients that come together beautifully. Here’s what you’ll need to get started:
For the Filling
- 1 cup semi-sweet or dark chocolate chips
- 3 large eggs (room temperature)
- 1 cup granulated sugar
- 1 cup whole milk
- 2 tsp pure vanilla extract
For the Crust
- 1 pre-made pie crust
Now that we have our ingredients ready, let’s jump into making this delicious pie!
Variations
One of the best things about Grandma’s Chocolate Pie is its flexibility. Feel free to put your own twist on it! Here are some fun ideas:
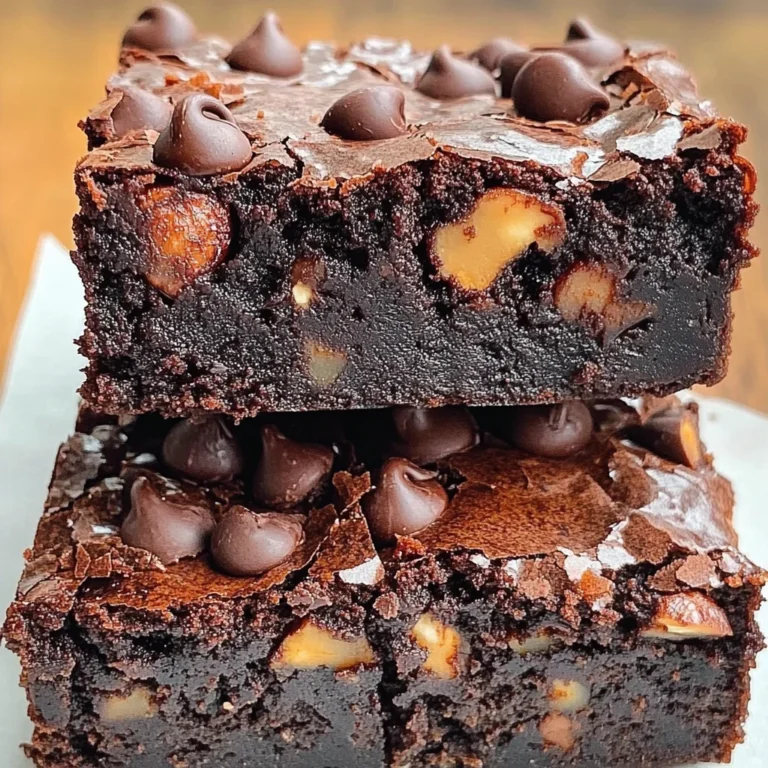
- Add Some Crunch: Stir in chopped nuts like walnuts or pecans into the chocolate filling for added texture.
- Infuse Some Flavor: Try adding a tablespoon of espresso powder to enhance the chocolate flavor even more.
- Go Fruit Forward: Top your pie with fresh berries or banana slices for a refreshing contrast to the rich filling.
- Chocolate Mint Twist: Use mint-flavored chocolate chips instead for a delightful minty surprise.
How to Make Grandma’s Chocolate Pie
Step 1: Preheat Your Oven
Preheat your oven to 350°F (175°C). This step is crucial because starting with a hot oven ensures that your pie sets perfectly without overcooking. While the oven heats up, prepare your pie crust as directed on its package.
Step 2: Melt the Chocolate
In a medium saucepan over low heat, melt your chocolate chips with whole milk until smooth. Stirring constantly prevents burning and ensures that everything combines beautifully. The aroma of melting chocolate will fill your kitchen—it’s simply heavenly!
Step 3: Whisk Together Eggs and Sugar
In a separate bowl, whisk together room temperature eggs and granulated sugar until light and fluffy. This step is essential because incorporating air will give your filling its lovely texture. A light batter makes for an airy filling that contrasts so well with the buttery crust.
Step 4: Combine Everything
Stir in pure vanilla extract into the egg mixture, then gently fold in the melted chocolate mixture. Take care not to deflate your eggs too much; this helps maintain that wonderful fluffiness we achieved earlier.
Step 5: Bake Your Pie
Pour the rich filling into the prepared crust and bake for 30-35 minutes until set but slightly jiggly in the center. Keep an eye on it towards the end; you want that perfect balance between firm edges and creamy center.
Step 6: Cool Down Before Serving
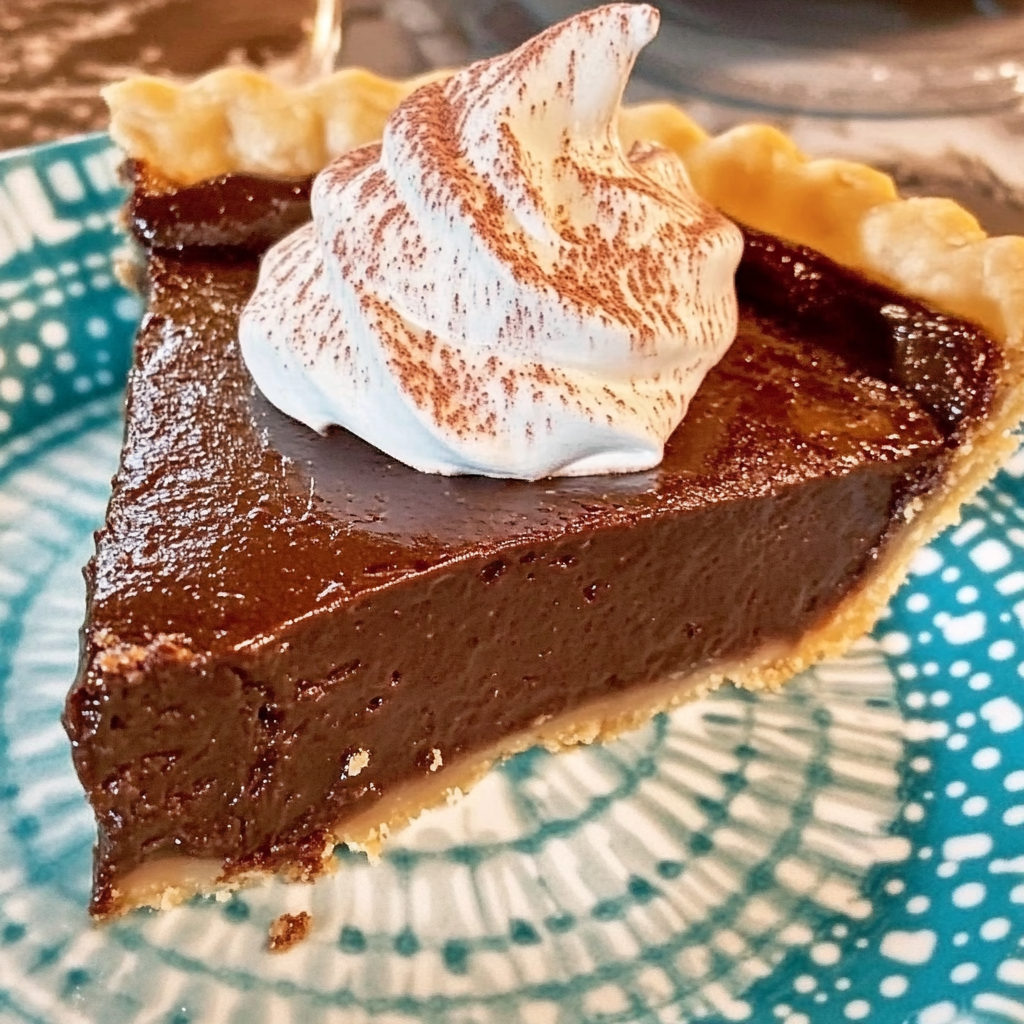
Allow your pie to cool before slicing. This waiting period helps it set completely, making it easier to serve! If you’d like, add whipped cream or fresh berries on top when serving—yum!
And there you have it! A delicious slice of Grandma’s Chocolate Pie ready to share with friends and family. Enjoy every moment of baking—and tasting!
Pro Tips for Making Grandma’s Chocolate Pie
Making this chocolate pie can be a delightful experience, and with these tips, you’ll ensure it turns out perfectly every time!
- Use high-quality chocolate: Opt for semi-sweet or dark chocolate chips that you enjoy eating on their own. The better the chocolate, the richer and more flavorful your pie will be.
- Ensure eggs are at room temperature: Room-temperature eggs blend more easily into the mixture, resulting in a smoother filling and a better texture overall.
- Don’t rush the cooling process: Allowing the pie to cool completely before slicing not only makes serving easier but also helps the filling set properly for that perfect slice.
- Experiment with flavors: Add a pinch of sea salt or a sprinkle of instant coffee granules to the chocolate mixture for an extra depth of flavor that enhances the chocolate notes beautifully.
- Store correctly for freshness: If you have leftovers, store them in an airtight container in the fridge. This keeps them fresh and allows you to enjoy your delicious creation for days!
How to Serve Grandma’s Chocolate Pie
Presenting Grandma’s Chocolate Pie is just as important as making it! A well-served dessert can add to its charm and make it even more enjoyable.
Garnishes
- Whipped coconut cream: A dollop of whipped coconut cream on top adds a lightness that balances out the rich chocolate flavor.
- Fresh berries: Raspberries or strawberries not only provide a pop of color but also bring a delightful tartness that complements the sweetness of the pie.
- Chocolate shavings: A sprinkle of chocolate shavings elevates the visual appeal and adds an extra layer of decadence.
Side Dishes
- Vanilla ice cream: The creamy texture of vanilla ice cream is a classic pairing with chocolate pie, creating a delightful contrast.
- Fruit salad: A refreshing fruit salad with seasonal fruits can cleanse your palate between bites and offers a healthy complement to the richness of the pie.
- Coffee: A cup of freshly brewed coffee pairs wonderfully with dessert, enhancing the flavors while providing a satisfying way to end your meal.
- Nutty granola: Serve some crunchy nutty granola on the side for added texture and flavor. It’s great sprinkled over each slice for those who love a bit of crunch!
Now you’re all set to create joyous memories around Grandma’s Chocolate Pie! Enjoy every bite, and don’t forget to share your experience!
Make Ahead and Storage
This Grandma’s Chocolate Pie is not only a delightful treat but also perfect for meal prep, making it easy to enjoy this classic dessert anytime! Here’s how you can store and preserve its deliciousness.
Storing Leftovers
- Store any leftover pie in an airtight container.
- Keep it in the refrigerator for up to four days.
- If possible, cover with plastic wrap to prevent drying out.
Freezing
- To freeze, wrap individual slices or the whole pie tightly in plastic wrap.
- Place wrapped pie in a freezer-safe container or bag.
- It can be stored in the freezer for up to two months.
Reheating
- For reheating, remove the pie from the freezer and let it thaw in the refrigerator overnight.
- Warm individual slices in the microwave for about 15-20 seconds.
- Alternatively, reheat in a preheated oven at 350°F (175°C) for about 10-15 minutes until warmed through.
FAQs
Here are some common questions about Grandma’s Chocolate Pie that might help you as you prepare this delicious dessert!
Can I use different types of chocolate for Grandma’s Chocolate Pie?
Absolutely! While semi-sweet or dark chocolate chips are traditional, you can experiment with milk chocolate or even white chocolate if you prefer a sweeter flavor.
How can I make Grandma’s Chocolate Pie ahead of time?
You can easily prepare Grandma’s Chocolate Pie a day before your event. Just bake it according to the recipe instructions, allow it to cool completely, then store it in the refrigerator until you’re ready to serve.
What should I serve with Grandma’s Chocolate Pie?
Grandma’s Chocolate Pie is delightful on its own but pairs beautifully with whipped cream or fresh berries for an extra touch of flavor and presentation.
How do I know when Grandma’s Chocolate Pie is done baking?
The pie should be set around the edges but still slightly jiggly in the center when it’s done. It will continue to firm up as it cools.
Final Thoughts
I hope you find joy in making Grandma’s Chocolate Pie as much as I do! This recipe not only brings back fond memories but also creates new ones around your dinner table. It’s perfect for sharing with family and friends, ensuring everyone leaves with a smile. Enjoy every bite of this delicious dessert, and don’t hesitate to try variations as you make it your own!
Grandma’s Chocolate Pie

Indulge in the nostalgic delight of Grandma’s Chocolate Pie, a dessert that embodies warmth and family gatherings. This easy-to-make pie features a rich chocolate filling nestled in a buttery crust, making it a crowd favorite for any occasion. Whether it’s a busy weeknight or a festive celebration, this pie brings joy with each slice. The creamy texture and deep chocolate flavor are sure to transport you back to cherished memories around the dinner table. Plus, it’s highly customizable with fun toppings and mix-ins. Treat yourself and your loved ones to this timeless sweet today!
- Prep Time: 15 minutes
- Cook Time: 35 minutes
- Total Time: 50 minutes
- Yield: Serves approximately 8 slices 1x
- Category: Dessert
- Method: Baking
- Cuisine: American
Ingredients
- 1 cup semi-sweet or dark chocolate chips
- 3 large eggs (room temperature)
- 1 cup granulated sugar
- 1 cup whole milk
- 2 tsp pure vanilla extract
- 1 pre-made pie crust
Instructions
- Preheat your oven to 350°F (175°C) and prepare the pie crust as directed on its package.
- In a medium saucepan over low heat, melt the chocolate chips with whole milk, stirring constantly until smooth.
- In a separate bowl, whisk together room temperature eggs and granulated sugar until light and fluffy.
- Stir in vanilla extract into the egg mixture, then gently fold in the melted chocolate mixture.
- Pour the filling into the prepared crust and bake for 30-35 minutes until set but slightly jiggly in the center.
- Allow the pie to cool completely before slicing.
Nutrition
- Serving Size: 1 slice (115g)
- Calories: 320
- Sugar: 25g
- Sodium: 160mg
- Fat: 16g
- Saturated Fat: 9g
- Unsaturated Fat: 6g
- Trans Fat: 0g
- Carbohydrates: 41g
- Fiber: 2g
- Protein: 5g
- Cholesterol: 90mg