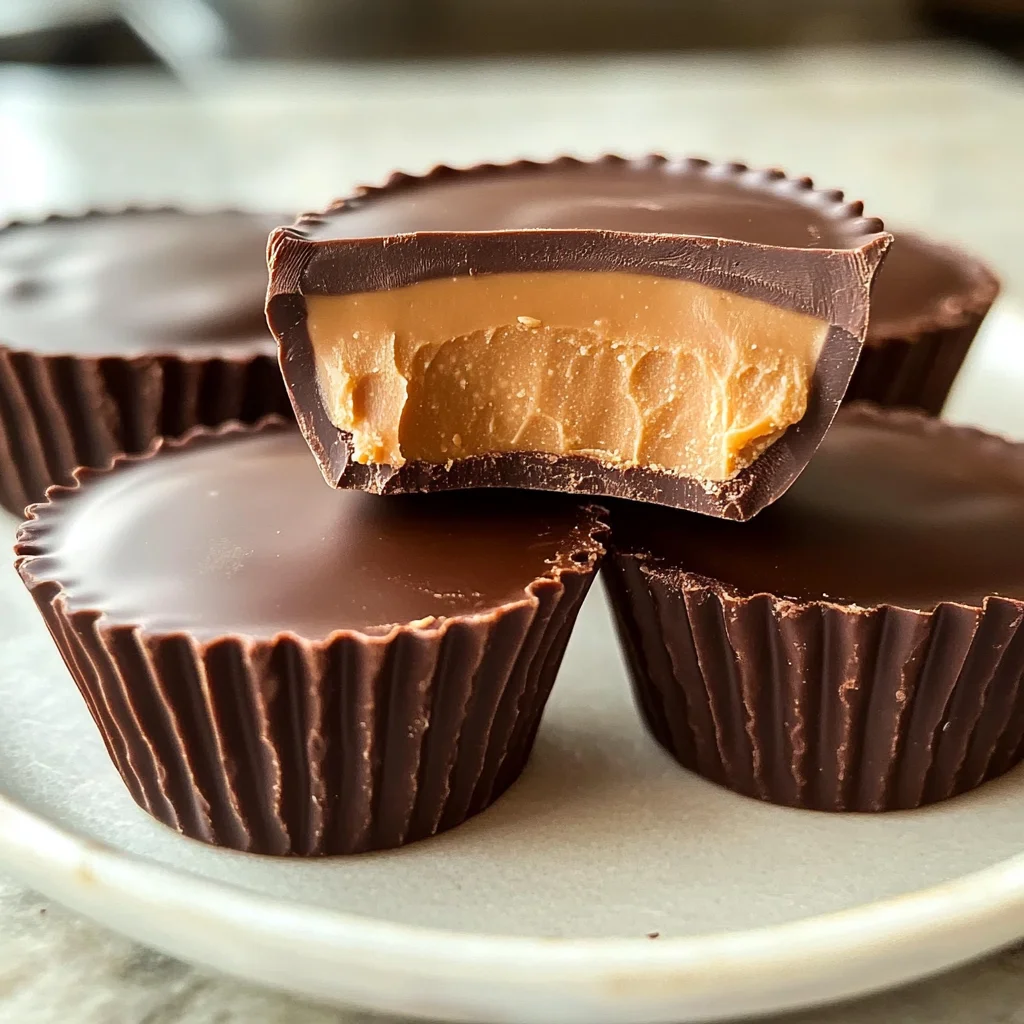
Classic Homemade Reese’s
If you’re looking for a delightful treat that brings back childhood memories, then you’ll absolutely love making Classic Homemade Reese’s. This recipe is not just about indulging in the rich combination of creamy peanut butter and smooth chocolate; it’s also about sharing joy with family and friends. Whether it’s for a cozy movie night, a festive gathering, or just because you deserve a sweet pick-me-up, these homemade candies are sure to please.
What I adore about this recipe is how simple it is to whip up. You can make them in just 35 minutes, and they’re perfect for any occasion. Plus, there’s something truly special about making your favorite candy from scratch!
Why You’ll Love This Recipe
- Easy to Make: With just a few simple steps, you can create these delicious candies without any fuss.
- Family-Friendly Fun: Involve the kids in rolling the peanut butter mixture into balls; it’s a fun activity for everyone!
- Make Ahead Convenience: These candies can be prepared in advance and stored for when cravings hit.
- Rich Flavor: The blend of peanut butter and chocolate creates an irresistible taste that is hard to resist.
Ingredients You’ll Need
Gathering the ingredients for Classic Homemade Reese’s is part of the fun! You’ll need some simple and wholesome items that you might already have in your pantry. Here’s what you’ll need:
For the Peanut Butter Filling
- 1 cup creamy peanut butter
- 1/4 cup unsalted butter, softened
- 1 teaspoon vanilla extract
- 2 cups powdered sugar
For the Chocolate Coating
- 2 cups milk chocolate chips
- 1 tablespoon coconut oil (optional)
Now that we have our ingredients ready, let’s dive into making these delicious treats!
Variations
This Classic Homemade Reese’s recipe is so versatile! Feel free to get creative with different flavors and textures. Here are some fun variations:
- Add Crunchy Texture: Mix in some chopped nuts like almonds or peanuts for an extra crunch.
- Use Dark Chocolate: Swap out milk chocolate chips for dark chocolate to give your candies a richer flavor.
- Try Different Nut Butters: Experiment with almond or cashew butter instead of peanut butter for a unique twist.
- Drizzle with White Chocolate: After dipping in milk chocolate, drizzle melted white chocolate on top for an elegant touch.
How to Make Classic Homemade Reese’s
Step 1: Prepare the Peanut Butter Mixture
Start by mixing together your creamy peanut butter, softened unsalted butter, and vanilla extract until smooth. This step is crucial because it creates a velvety base for your filling. Gradually add in the powdered sugar until the mixture becomes firm enough to hold its shape.
Step 2: Shape Your Candies
Once your filling is ready, roll it into 1-inch balls or press it into mini muffin liners to form perfect little cups. Chilling them after shaping helps them set properly so they don’t fall apart when you dip them in chocolate.
Step 3: Melt the Chocolate
In a microwave-safe bowl or using a double boiler, melt your chocolate chips along with coconut oil if you’re using it. Stir until smooth—this creates a beautiful coating that will harden perfectly around each candy.
Step 4: Dip and Chill
Carefully dip each chilled peanut butter ball into the melted chocolate, making sure they’re fully coated. Place them on parchment paper to cool down. This step ensures every bite is enveloped in luscious chocolate goodness.
Step 5: Let Them Set
Pop your dipped candies into the refrigerator for about 20–30 minutes until the chocolate has completely set. This final chilling step makes all the difference as it solidifies that delicious outer layer.
Step 6: Serve and Enjoy
Now comes the best part! Once set, serve these delightful homemade Reese’s at your next gathering or keep them all to yourself (no judgment here!). Enjoy every sweet bite!
Pro Tips for Making Classic Homemade Reese’s
Creating your own Classic Homemade Reese’s can be a delightful experience! Here are some tips to make them even better.
-
Use room temperature ingredients: Starting with softened butter and room temperature peanut butter allows for better mixing, resulting in a creamier filling.
-
Chill the filling: After shaping the peanut butter mixture, chilling it before dipping in chocolate helps maintain its shape and makes it easier to coat.
-
Opt for high-quality chocolate: Using good quality milk chocolate chips enhances the flavor of your candies, making every bite melt in your mouth.
-
Experiment with different nut butters: If you want a twist, try almond or cashew butter instead of peanut butter for a unique flavor profile.
-
Don’t skip the coconut oil: Adding coconut oil to your melted chocolate creates a smoother consistency, making it easier to coat the peanut butter balls evenly.
How to Serve Classic Homemade Reese’s
When serving your Classic Homemade Reese’s, presentation is key! These treats can be enjoyed on their own or as part of a delightful dessert spread. Here are some ideas on how to present them beautifully.
Garnishes
- Sea salt flakes: A sprinkle of sea salt on top of each candy enhances the sweetness of the chocolate and adds a sophisticated touch.
- Chopped nuts: Garnishing with crushed peanuts or almonds gives an extra crunch and complements the peanut butter flavor.
Side Dishes
- Fresh fruit platter: A vibrant assortment of seasonal fruits like strawberries, apples, and bananas offers a refreshing contrast to the rich candies.
- Chocolate-dipped pretzels: Salty and sweet chocolate-dipped pretzels create a perfect balance that pairs wonderfully with your homemade treats.
- Vanilla ice cream: Serve these candies alongside creamy vanilla ice cream for an indulgent dessert experience that everyone will love.
- Milk or nut milk: Offer a glass of cold milk or almond milk as a classic pairing that makes these candy bites even more satisfying!
Now you’re all set to create and serve your Classic Homemade Reese’s like a pro! Enjoy every sweet moment!
Make Ahead and Storage
This Classic Homemade Reese’s recipe is perfect for meal prep, allowing you to satisfy your sweet tooth without the hassle of making a fresh batch each time. These delightful candies store well and can be enjoyed throughout the week or shared with friends!
Storing Leftovers
- Place leftover candies in an airtight container.
- Store them in the refrigerator for up to one week.
- Keep them away from strong-smelling foods to maintain their flavor.
Freezing
- Arrange the candies on a baking sheet in a single layer and freeze until solid.
- Transfer them to a freezer-safe container or bag, separating layers with parchment paper.
- They can be frozen for up to three months.
Reheating
- If you prefer a softer texture, remove the candies from the fridge and let them sit at room temperature for about 10 minutes before serving.
- Avoid reheating in the microwave, as this may cause the chocolate to lose its texture.
FAQs
Got questions? Here are some common ones about making your own Classic Homemade Reese’s!
Can I use natural peanut butter for Classic Homemade Reese’s?
Yes! Natural peanut butter works well, but make sure it’s creamy for easy mixing. You may need to adjust the amount of powdered sugar slightly based on the consistency.
How do I achieve a smooth coating on my Classic Homemade Reese’s?
To get that perfect chocolate coating, ensure your chocolate is fully melted and smooth. Adding a bit of coconut oil can help create a glossy finish that’s easier to work with.
How long do Classic Homemade Reese’s last?
When stored properly in an airtight container in the refrigerator, these treats can last for up to one week. For longer storage, consider freezing them!
Can I make Classic Homemade Reese’s vegan-friendly?
Certainly! Use dairy-free chocolate chips and substitute coconut oil for butter. This way, you’ll have a delicious vegan version that everyone can enjoy!
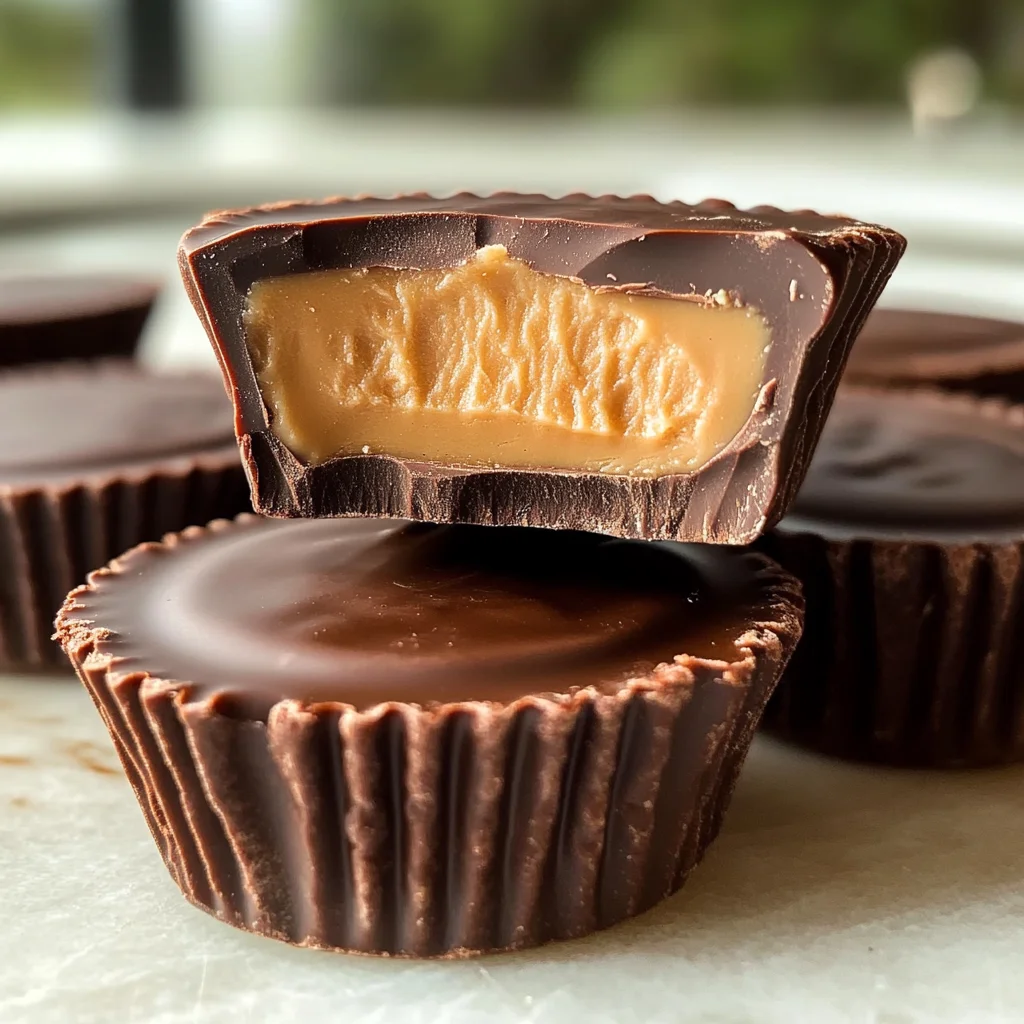
Final Thoughts
I hope you enjoy making these homemade delights as much as I do! There’s something truly special about creating your own candy, especially when it involves that creamy peanut butter filling paired perfectly with rich chocolate. Whether you’re indulging yourself or sharing with friends and family, these Classic Homemade Reese’s are sure to bring smiles all around. Happy candy-making!
Classic Homemade Reese’s

Indulge in the delightful taste of Classic Homemade Reese’s, a nostalgic treat that combines the rich flavors of creamy peanut butter and smooth chocolate. This easy-to-make recipe is perfect for any occasion, whether you’re hosting a movie night or simply craving something sweet. In just 35 minutes, you can create your own irresistible candies that are sure to impress friends and family. Enjoy the fun of making these treats together and savor every delicious bite!
- Prep Time: 15 minutes
- Cook Time: 20 minutes
- Total Time: 35 minutes
- Yield: Approximately 24 servings 1x
- Category: Dessert
- Method: No-bake
- Cuisine: American
Ingredients
- 1 cup creamy peanut butter
- 1/4 cup unsalted butter, softened
- 1 teaspoon vanilla extract
- 2 cups powdered sugar
- 2 cups milk chocolate chips
- 1 tablespoon coconut oil (optional)
Instructions
- In a mixing bowl, blend creamy peanut butter, softened unsalted butter, and vanilla extract until smooth. Gradually add powdered sugar until the mixture holds its shape.
- Roll the mixture into 1-inch balls or press into mini muffin liners for candy cups. Chill to set.
- Melt chocolate chips with coconut oil in a microwave or double boiler until smooth.
- Dip each chilled peanut butter ball into the melted chocolate until fully coated and place on parchment paper to cool.
- Refrigerate for 20–30 minutes until chocolate is set. Serve and enjoy!
Nutrition
- Serving Size: 1 candy ball, approx. 25g
- Calories: 120
- Sugar: 10g
- Sodium: 40mg
- Fat: 8g
- Saturated Fat: 3g
- Unsaturated Fat: 5g
- Trans Fat: 0g
- Carbohydrates: 12g
- Fiber: 0g
- Protein: 2g
- Cholesterol: 10mg