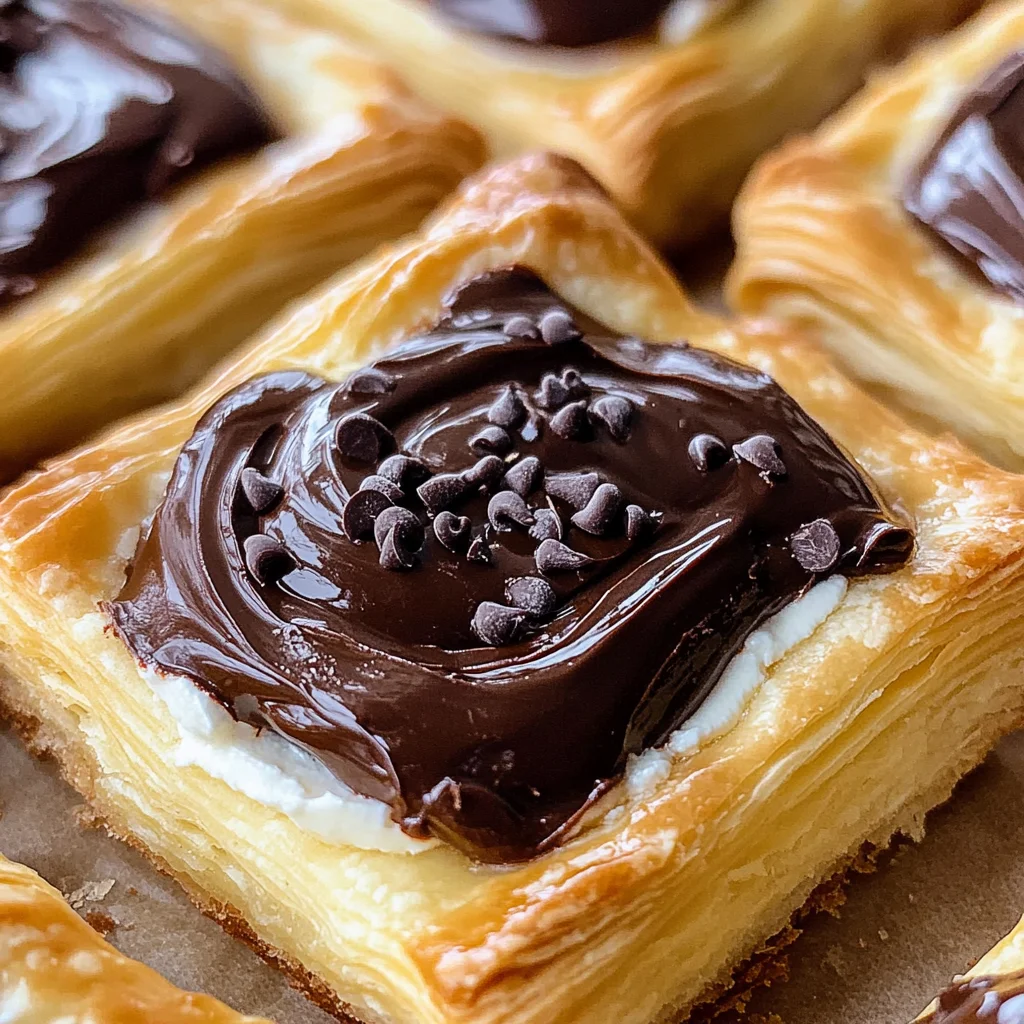
Chocolate Cream Cheese Danish
If you’re looking for a delightful treat that’s as easy to make as it is delicious, then you’re in for a treat with this Chocolate Cream Cheese Danish! These pastries are perfect for busy weeknights or special family gatherings. They strike just the right balance between creamy, chocolatey goodness and flaky pastry. Trust me, once you make these, they’ll quickly become your go-to dessert!
The best part? You can whip them up using frozen puff pastry and simple ingredients. It’s a recipe that feels fancy but comes together in no time. Whether you’re serving them at brunch or enjoying a quiet evening at home, these danishes are sure to impress.
Why You’ll Love This Recipe
- Super Easy to Make: With frozen puff pastry as your base, you’ll find this recipe quick and straightforward.
- Family-Friendly Treat: Kids and adults alike will adore the sweet cream cheese and rich chocolate filling.
- Make-Ahead Convenience: Prep the filling ahead of time so you can bake these fresh when you’re ready!
- Impressive Flavor: The combination of cream cheese and chocolate ganache creates a flavor explosion that’s hard to resist.
Ingredients You’ll Need
Let’s gather some simple, wholesome ingredients that come together to create this delicious Chocolate Cream Cheese Danish.
For the Danish
- 2 Frozen puff pastry sheets
- 8 oz Cream cheese (room temperature)
- 1/3 cup White granulated sugar
- 2 tsp Pure vanilla extract
- 1 Large egg (for egg wash)
- 1 tsp Water (for egg wash)
For the Ganache
- 1 cup Semi-sweet chocolate chips
- 3/4 cup Heavy cream
Variations
This recipe is quite flexible, allowing you to get creative with flavors and fillings!
- Change the Filling: Swap out the cream cheese for mascarpone for a different texture and taste.
- Add Fruit: Place fresh berries or sliced bananas inside the danish for an extra fruity twist!
- Experiment with Chocolate: Use dark chocolate or even white chocolate chips in the ganache for a unique flavor.
- Try Different Extracts: Incorporate almond or hazelnut extract instead of vanilla for an interesting flavor profile.
How to Make Chocolate Cream Cheese Danish
Step 1: Thaw the Pastry
Start by placing your frozen puff pastry on the counter for about 30 minutes to thaw. This step is crucial because it allows the dough to become pliable, which makes it easier to shape and cut later on.
Step 2: Prepare the Chocolate Ganache
While waiting for the pastry, let’s whip up some rich chocolate ganache! Pour your chocolate chips into a bowl. Heat heavy cream in a saucepan over medium-low heat until it’s steaming—this will help melt those chocolate chips beautifully. Once hot, pour the cream over the chips and let it sit for about a minute and a half before stirring gently until smooth. If there are any stubborn chunks left, just pop it in the microwave for short intervals until melted. Let this ganache sit at room temperature until it reaches a “pudding-like” texture—it’ll be worth the wait!
Step 3: Mix the Cream Cheese Filling
In a small bowl, beat your room-temperature cream cheese with a hand mixer on high speed for about one minute. This helps break it down smoothly! Next, add in your sugar and vanilla extract, mixing again until everything is well combined.
Step 4: Cut Your Pastry
Now it’s time to prepare our pastry sheets! On a lightly floured surface, push together any seams on your thawed pastry sheets. Cut each sheet into thirds along its seams to create three long rectangles per sheet. Then slice each rectangle in half to yield six rectangles from each sheet—12 total!
Step 5: Egg Wash Preparation
Mix together one egg with water in a small bowl; this will create your egg wash. Using a pastry brush, spread this mixture around the edges of each rectangle—this will give your pastries that beautiful golden color when baked!
Step 6: Preheat Your Oven
Preheat your oven to 400°F (200°C). While that warms up, line two cookie sheets with parchment paper so your pastries won’t stick during baking.
Step 7: Shape Your Pastries
Place six rectangles on each cookie sheet. For each rectangle, carefully cut another smaller rectangle shape inside without cutting all the way through—this allows your pastries to rise nicely around their delicious filling!
Step 8: Fill with Cream Cheese Mixture
Spoon about one tablespoon of cream cheese filling into each box created by your cuts. Spread it evenly within each square so every bite is packed with flavor.
Step 9: Chill Before Baking
To ensure maximum flakiness, place one tray in the fridge and another in the freezer for about five minutes before baking. This helps keep those layers of butter cold!
Step 10: Bake Until Golden Brown
Bake one sheet at a time for approximately 17-20 minutes or until golden brown. Keep an eye on them—they should look perfectly puffed and bronzed! Once done, let them cool completely before moving on to our final step.
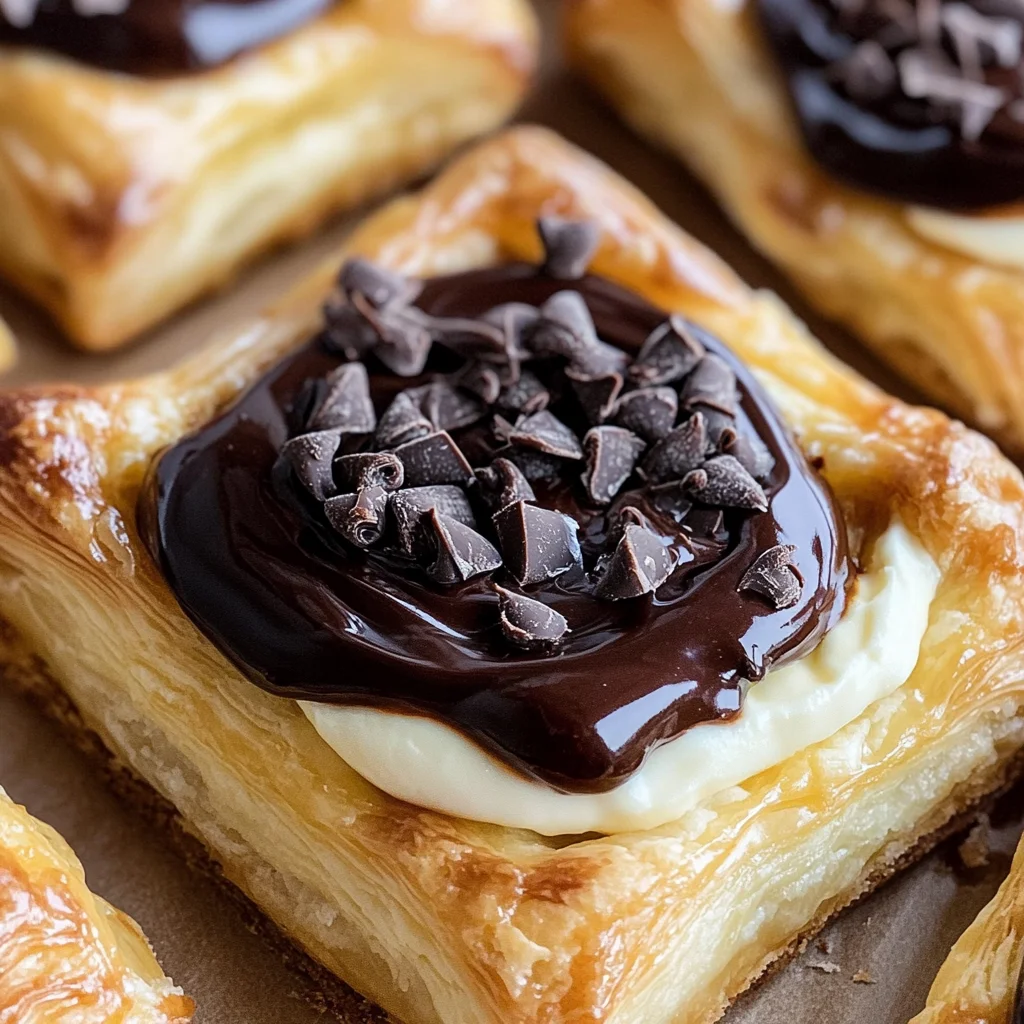
Step 11: Add Ganache Topping
Once cooled, spoon some luscious chocolate ganache over each danish. Be sure to leave some of that creamy filling peeking out around the edges—what’s better than seeing deliciousness?
And there you have it—a warm batch of Chocolate Cream Cheese Danishes ready to be enjoyed! Perfect for sharing (or not)!
Pro Tips for Making Chocolate Cream Cheese Danish
Making these chocolate cream cheese danishes can be a delightful experience! Here are some tips to ensure your pastries turn out perfectly every time.
-
Thaw the pastry properly: Allowing the puff pastry to thaw completely before use is crucial. This ensures it can puff up nicely during baking, giving you that flaky texture we all love.
-
Use room temperature cream cheese: Beating cold cream cheese can be tricky and may lead to lumps in your filling. Letting it reach room temperature makes it easier to mix smoothly, resulting in a creamy filling.
-
Chill before baking: Placing the assembled danishes in the freezer for a few minutes before baking helps keep the butter in the pastry cold. This step contributes to a better rise and flakiness when baked.
-
Don’t over-fill: It can be tempting to add more filling, but too much can cause spillage during baking. Stick to 1 tablespoon of filling per rectangle for a perfect balance of flavors without mess.
-
Bake until golden brown: Every oven is different, so keep an eye on your danishes as they bake. The goal is a beautiful golden brown color, indicating they are cooked through and ready to enjoy!
How to Serve Chocolate Cream Cheese Danish
These chocolate cream cheese danishes not only taste amazing but also look beautiful on any dessert table. Here are some ideas on how to present them for maximum appeal.
Garnishes
-
Powdered sugar dusting: A light dusting of powdered sugar adds a touch of elegance and sweetness, enhancing the visual appeal without overpowering the flavor.
-
Fresh berries: Adding a few fresh berries like raspberries or strawberries on the side introduces a pop of color and tartness that complements the rich chocolate and creamy filling beautifully.
Side Dishes
-
Fresh fruit salad: A refreshing fruit salad made with seasonal fruits offers a light contrast to the richness of the danish, making for a well-rounded dessert option.
-
Vanilla ice cream: Serve these warm danishes with a scoop of vanilla ice cream for an indulgent treat that melts into the warm pastry—pure bliss!
-
Coffee or tea: Pairing your danish with a hot cup of coffee or herbal tea enhances the flavors and creates a cozy atmosphere, perfect for enjoying these treats during brunch or afternoon tea.
With these serving suggestions and pro tips, your chocolate cream cheese danish will not only taste heavenly but will also impress anyone lucky enough to share this delightful dessert with you!
Make Ahead and Storage
These Chocolate Cream Cheese Danishes are perfect for meal prep! You can easily make them ahead of time, store, and enjoy them fresh throughout the week.
Storing Leftovers
- Place any leftover danishes in an airtight container.
- Store in the refrigerator for up to 3 days.
- For optimal freshness, consume within the first couple of days.
Freezing
- Allow danishes to cool completely before freezing.
- Place them in a single layer on a baking sheet and freeze until solid.
- Transfer frozen danishes to a freezer-safe bag or container.
- They can be stored for up to 2 months.
Reheating
- To reheat, preheat your oven to 350°F (175°C).
- Place the danishes on a baking sheet and cover loosely with aluminum foil.
- Heat for about 10-15 minutes or until warmed through.
FAQs
If you have questions about making these delightful treats, you’re in the right place!
Can I use different fillings for my Chocolate Cream Cheese Danish?
Absolutely! Feel free to experiment with fruit preserves, nut spreads, or even different flavored cream cheeses. The possibilities are endless!
How do I make the Chocolate Cream Cheese Danish gluten-free?
You can substitute regular puff pastry with gluten-free puff pastry options available in stores. Just ensure all other ingredients are gluten-free as well.
How long will my Chocolate Cream Cheese Danish last after baking?
Your freshly baked danishes will last about 3 days in the fridge. For longer storage, consider freezing them for up to 2 months!
Can I prepare the filling ahead of time for the Chocolate Cream Cheese Danish?
Yes! You can prepare the cream cheese filling ahead of time and store it in an airtight container in the refrigerator for up to 2 days before using it.
Final Thoughts
I hope you find joy in making these Chocolate Cream Cheese Danishes! They’re not only easy to whip up but also incredibly delicious. Whether it’s for a special occasion or just a treat for yourself, these danishes are sure to impress. Enjoy every bite, and don’t hesitate to share your creations with family and friends!
Chocolate Cream Cheese Danish

Indulge in the delightful experience of making Chocolate Cream Cheese Danishes, perfect for any occasion. These pastries combine creamy, rich chocolate with a smooth cream cheese filling, all enveloped in flaky puff pastry. With minimal effort and simple ingredients, you’ll impress friends and family at brunch or enjoy them as a sweet treat during quiet evenings at home. The best part? You can easily customize the fillings and toppings to suit your taste! Whip up these irresistible danishes today, and watch them disappear in no time.
- Prep Time: 30 minutes
- Cook Time: 20 minutes
- Total Time: 50 minutes
- Yield: Approximately 12 servings 1x
- Category: Dessert
- Method: Baking
- Cuisine: American
Ingredients
- 2 frozen puff pastry sheets
- 8 oz cream cheese (room temperature)
- 1/3 cup white granulated sugar
- 2 tsp pure vanilla extract
- 1 cup semi-sweet chocolate chips
- 3/4 cup heavy cream
Instructions
- Thaw frozen puff pastry for about 30 minutes.
- Prepare chocolate ganache by heating heavy cream until steaming, then pouring it over the chocolate chips; let sit for a minute before stirring until smooth.
- In a bowl, beat room-temperature cream cheese with sugar and vanilla until well combined.
- Cut thawed pastry into rectangles, brush edges with egg wash (egg mixed with water), and create smaller rectangles inside each piece without cutting through.
- Fill each rectangle with cream cheese mixture and chill before baking.
- Bake at 400°F (200°C) for 17-20 minutes or until golden brown.
- Once cooled, drizzle with chocolate ganache.
Nutrition
- Serving Size: 1 Danish (75g)
- Calories: 270
- Sugar: 15g
- Sodium: 170mg
- Fat: 18g
- Saturated Fat: 11g
- Unsaturated Fat: 5g
- Trans Fat: 0g
- Carbohydrates: 24g
- Fiber: 1g
- Protein: 4g
- Cholesterol: 50mg