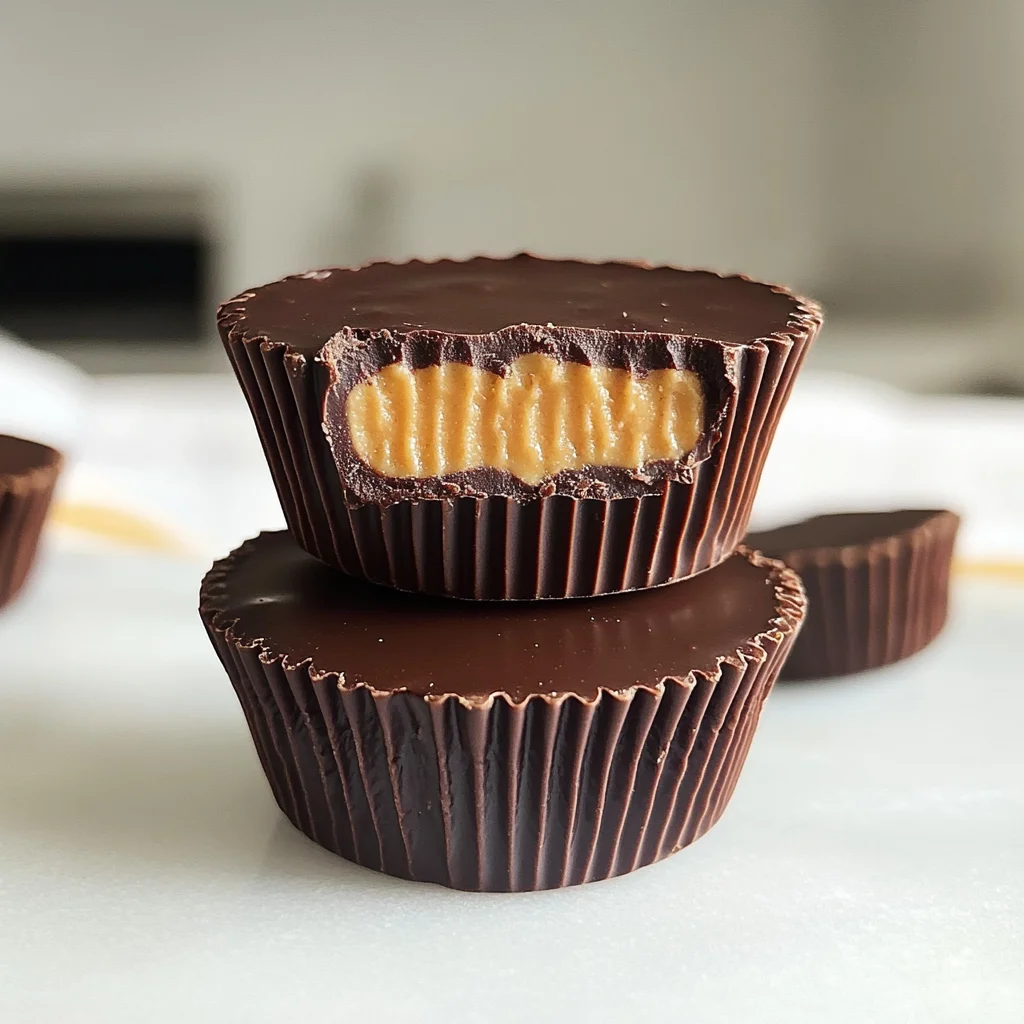
Make Tasty Homemade Reese’s Cups in 5 Simple Steps Today!
If you’re looking for a sweet treat that’s as fun to make as it is to eat, you’ve come to the right place! Today, I’m excited to share a recipe that brings back all those childhood memories: Homemade Reese’s Cups. This recipe is a favorite because it combines creamy peanut butter with rich chocolate, creating a delightful experience in every bite. Plus, you can Make Tasty Homemade Reese’s Cups in 5 Simple Steps Today! Whether you’re prepping for a family gathering or just need a little pick-me-up during a busy weeknight, these treats are sure to brighten your day.
What makes this recipe special is not just the flavor but also how easy it is to whip up. With just a handful of simple ingredients and minimal fuss, you’ll have delicious homemade chocolate cups ready to impress your friends and family. Trust me, once you make these, they’ll be requested over and over again!
Why You’ll Love This Recipe
- Quick and Easy: With just five steps, you can create these delightful cups in no time!
- Family-Friendly Fun: Get the kids involved in making their own treats – it’s an activity everyone will enjoy.
- Make Ahead: These cups can be prepared in advance, making them perfect for parties or snacks throughout the week.
- Deliciously Satisfying: The combination of peanut butter and chocolate is timeless and will please any palate.
Ingredients You’ll Need
Making these delicious Homemade Reese’s Cups is super simple with wholesome ingredients you likely already have at home. Here’s what you’ll need to gather:
For the Peanut Butter Filling
- 1 cup creamy peanut butter
- 1 cup powdered sugar
For the Chocolate Coating
- 2 cups milk chocolate chips
- 1 tablespoon coconut oil
Variations
This recipe is wonderfully flexible! Feel free to get creative with your homemade cups:
- Add some crunch: Stir in chopped nuts or crushed pretzels into the peanut butter mixture for an extra texture.
- Try dark chocolate: Use dark chocolate chips instead of milk chocolate for a richer flavor.
- Switch up the nut butter: If you’re not a fan of peanut butter, almond or cashew butter work beautifully too!
- Make them mini: Use a mini muffin pan instead of cupcake liners for bite-sized treats.
How to Make Tasty Homemade Reese’s Cups in 5 Simple Steps Today!
Step 1: Prepare the Peanut Butter Mixture
In a mixing bowl, combine creamy peanut butter and powdered sugar. Stir until smooth. This step creates that luscious filling we all love. The sweetness from the powdered sugar balances perfectly with the nuttiness of the peanut butter.
Step 2: Melt the Chocolate
Melt milk chocolate chips and coconut oil together in a microwave-safe bowl or using a double boiler. This step ensures the chocolate has a silky texture that coats your cups beautifully. Stir until fully melted and combined.
Step 3: Create the Chocolate Base
Pour a layer of melted chocolate into cupcake liners placed in a muffin tin. Aim for about 1/3 of each liner’s height. This forms the base of your cups. It’s important to let this layer set slightly before adding more ingredients.
Step 4: Add Peanut Butter Filling
Spoon a generous amount of your peanut butter mixture on top of the chocolate layer. Gently press down so it settles nicely on top without spilling over. This creates that classic Reese’s Cup look that we all adore!
Step 5: Finish with More Chocolate
Cover each peanut butter layer with more melted chocolate until completely sealed. Refrigerate until set. This final touch not only completes your lovely creation but also provides that satisfying snap when you bite into them.
And there you have it! Your very own Homemade Reese’s Cups made easily at home. Enjoy sharing (or not!) these delightful treats with everyone around you!
Pro Tips for Making Make Tasty Homemade Reese’s Cups in 5 Simple Steps Today!
Making your own Reese’s Cups is such a rewarding experience, and with these pro tips, you’ll ensure they come out perfectly every time!
-
Use room temperature ingredients: This helps the peanut butter mix smoothly with the powdered sugar, creating a creamy filling that holds its shape beautifully.
-
Don’t skip the coconut oil: Adding coconut oil to the melted chocolate not only gives it a silky texture but also helps it set up nicely in the fridge, preventing any chalky or hard bits.
-
Layer wisely: Pour just enough chocolate to cover the bottom of the liners; too much can make them overly chocolaty. Balance is key for that perfect bite!
-
Chill between layers: If you have time, refrigerate the first chocolate layer before adding the peanut butter mixture. This helps create distinct layers and prevents mixing.
-
Experiment with flavors: Feel free to add a pinch of sea salt on top or mix in some crushed nuts to your peanut butter filling for added crunch and flavor!
How to Serve Make Tasty Homemade Reese’s Cups in 5 Simple Steps Today!
Serving your homemade Reese’s Cups can be just as fun as making them! Here are some creative ideas to showcase your delightful treats.
Garnishes
- Sea salt flakes: A sprinkle of sea salt on top enhances the sweet and salty flavor profile, making each bite even more irresistible.
- Chocolate drizzle: Melt a bit more chocolate and drizzle it over the top for an elegant touch that also adds extra chocolate goodness.
Side Dishes
-
Fresh fruit salad: A light and refreshing fruit salad balances out the richness of the peanut butter cups. Use seasonal fruits like berries, melons, and citrus for vibrant colors.
-
Vanilla ice cream: Serve these cups alongside a scoop of vanilla ice cream. The cool creaminess pairs wonderfully with the rich chocolate and peanut butter flavors.
-
Coffee or tea: A warm cup of coffee or herbal tea complements these sweet treats perfectly. The slight bitterness of coffee especially contrasts well with the sweetness of chocolate.
By following these serving suggestions, you’ll elevate your homemade Reese’s Cups into an unforgettable dessert experience! Enjoy every bite!
Make Ahead and Storage
These homemade Reese’s Cups are perfect for meal prep! You can easily make a batch ahead of time and store them for when that sweet craving strikes.
Storing Leftovers
- Place the Reese’s Cups in an airtight container.
- Store them in the refrigerator for up to one week.
- If you prefer, you can also keep them at room temperature for a couple of days, but they will last longer when chilled.
Freezing
- Wrap each Reese’s Cup individually in plastic wrap or aluminum foil.
- Place wrapped cups in a freezer-safe container or zip-top bag.
- Freeze for up to three months. When you’re ready to enjoy, simply thaw them in the refrigerator overnight.
Reheating
- For best results, let the cups come to room temperature naturally after removing from the fridge or freezer.
- If you prefer them slightly warm, microwave each cup on a low setting (10-15 seconds) until just softened.
FAQs
Here are some common questions about making these delicious treats!
Can I make tasty homemade Reese’s Cups in 5 simple steps today if I’m allergic to peanuts?
Absolutely! You can substitute the peanut butter with any nut-free alternative such as sunflower seed butter or almond butter. Just ensure that the substitute fits your dietary needs.
How long do homemade Reese’s Cups last?
When stored properly in an airtight container in the refrigerator, these homemade Reese’s Cups will stay fresh for up to one week.
What is the best way to store homemade Reese’s Cups?
The best way to store your cups is in an airtight container. They can be kept in the fridge for longer shelf life or left out at room temperature for a short period.
Can I make tasty homemade Reese’s Cups in 5 simple steps today with dairy-free chocolate?
Yes! Simply swap out regular milk chocolate chips with dairy-free chocolate chips to suit your dietary preferences while still enjoying this delightful treat!
Final Thoughts
I hope this recipe becomes a favorite in your home as it has in mine! Making your own homemade Reese’s Cups is not only fun but also allows you to customize each batch just how you like it. Enjoy the process and share these delightful treats with friends and family. Happy baking!
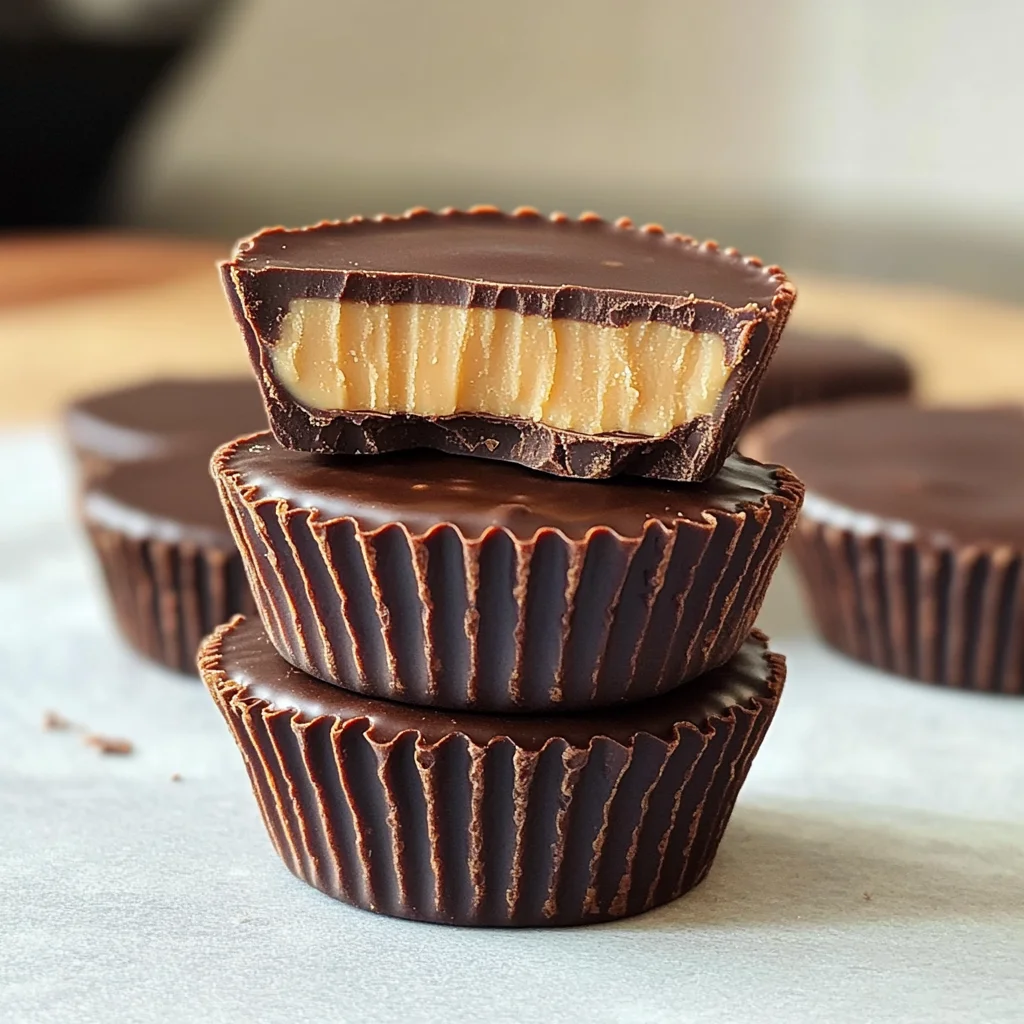
Homemade Reese’s Cups
If you’re in the mood for a fun and nostalgic treat, these Homemade Reese’s Cups are the perfect solution! This simple recipe combines creamy peanut butter and rich chocolate to create a delightful dessert that’s sure to please everyone. With just five easy steps, you can whip up a batch of these delicious cups that are ideal for snacking, parties, or simply indulging your sweet tooth. Plus, they’re easy to customize with different flavors and textures, making them a versatile favorite. Gather the family for a fun baking adventure and enjoy these delightful treats together!
- Prep Time: 10 minutes
- Cook Time: 10 minutes
- Total Time: 20 minutes
- Yield: Approximately 12 servings 1x
- Category: Dessert
- Method: Baking
- Cuisine: American
Ingredients
- 1 cup creamy peanut butter
- 1 cup powdered sugar
- 2 cups milk chocolate chips
- 1 tablespoon coconut oil
Instructions
- In a mixing bowl, combine creamy peanut butter and powdered sugar until smooth.
- Melt milk chocolate chips and coconut oil in a microwave-safe bowl or double boiler until silky.
- Pour melted chocolate into cupcake liners to form the base; allow it to set slightly.
- Spoon the peanut butter mixture on top of the chocolate layer, pressing gently.
- Cover with more melted chocolate and refrigerate until set.
Nutrition
- Serving Size: 1 cup (40g)
- Calories: 210
- Sugar: 12g
- Sodium: 150mg
- Fat: 14g
- Saturated Fat: 7g
- Unsaturated Fat: 6g
- Trans Fat: 0g
- Carbohydrates: 21g
- Fiber: 2g
- Protein: 4g
- Cholesterol: 0mg