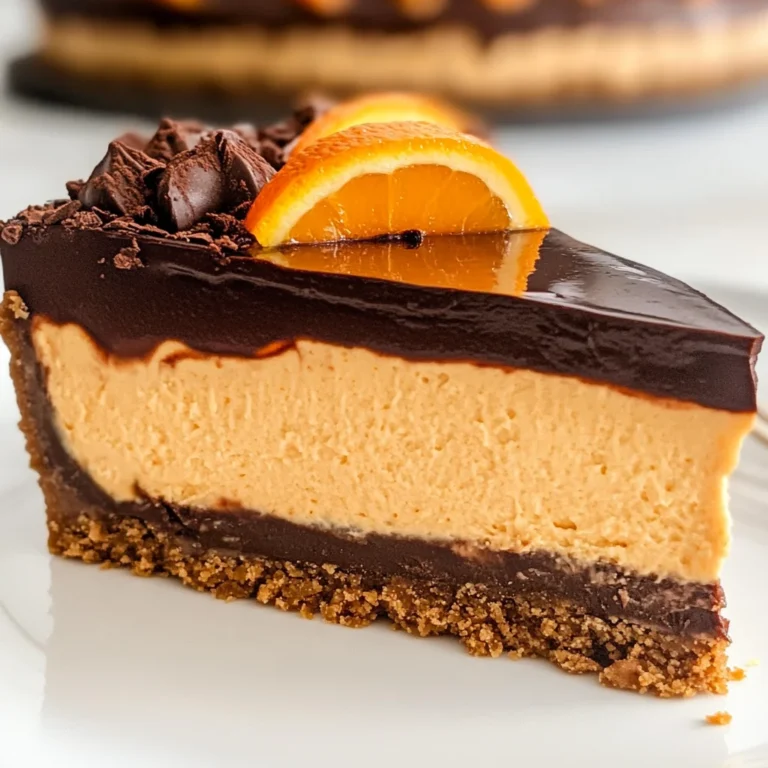
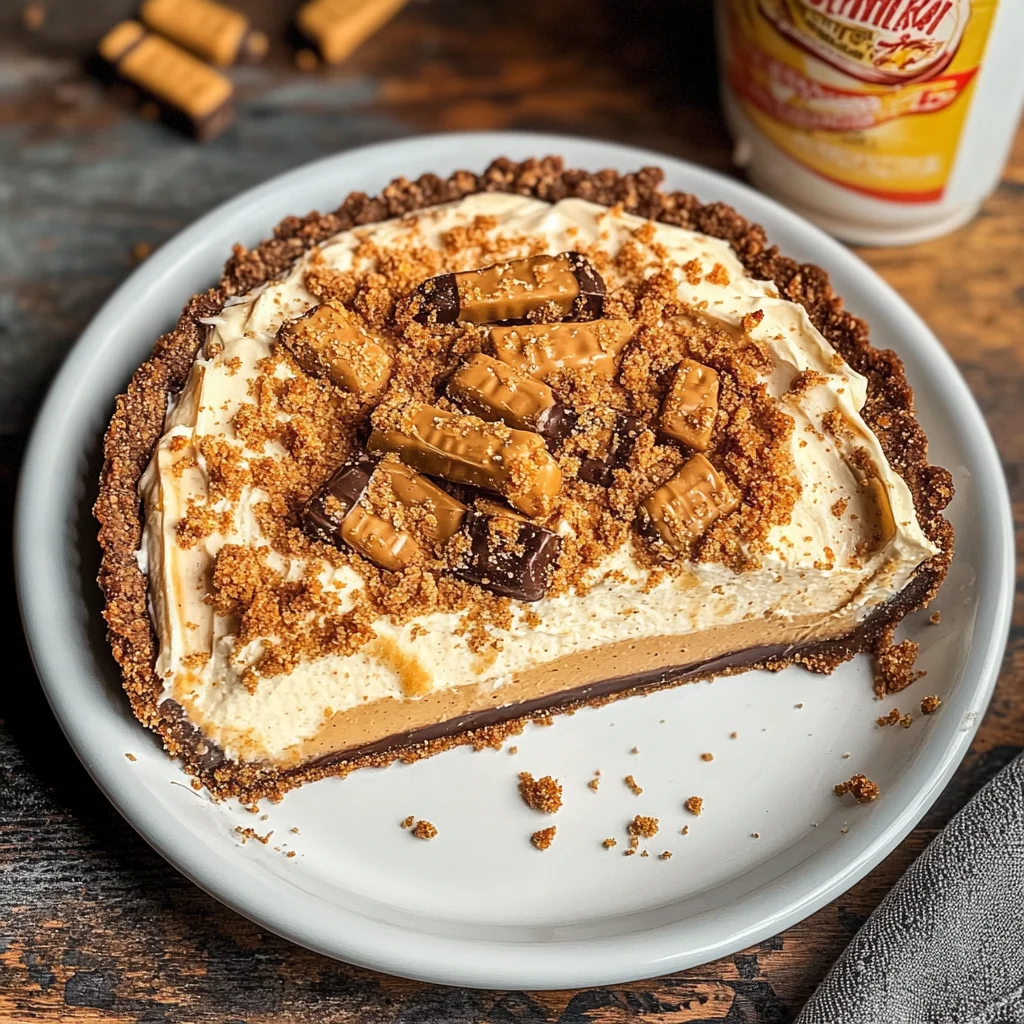
Butterfinger Pie with Peanut Butter
If you’re looking for a delightful dessert that’s sure to impress, then you’ve found it! This Butterfinger Pie with Peanut Butter is a cherished recipe that I can’t wait to share with you. The combination of creamy peanut butter and crunchy Butterfinger candy bars creates a sweet treat that is perfect for any occasion. Whether it’s a family gathering, a birthday party, or just a cozy night at home, this pie brings smiles all around!
What makes this pie even better is how easy it is to make. With no baking required, it’s the ultimate solution for busy weeknights or when you want something special without spending hours in the kitchen. Let’s dive into why you’ll love making this Butterfinger Pie with Peanut Butter!
Why You’ll Love This Recipe
- Quick and Easy: This no-bake dessert comes together in just 30 minutes, leaving you plenty of time to relax.
- Family-Friendly: Kids and adults alike adore the combination of peanut butter and candy bars—everyone will want a slice!
- Make-Ahead Convenience: You can prepare this pie in advance and let it chill in the fridge until you’re ready to serve it.
- Delicious Flavor: The creamy texture paired with the crunch of Butterfinger creates an irresistible taste that will have your guests coming back for seconds.
Ingredients You’ll Need
Gathering the ingredients for this Butterfinger Pie with Peanut Butter is a breeze! You’ll find that these are simple, wholesome components that blend together beautifully to create a delightful dessert.
For the Crust
- 2 cups graham cracker crumbs
- 1/2 cup (1 stick) unsalted butter, melted
For the Filling
- 1 cup creamy peanut butter
- 8 oz cream cheese (softened)
- 1 cup powdered sugar
- 1 tsp vanilla extract
- 8 oz whipped topping (like Cool Whip, thawed)
For Topping
- 4 Butterfinger candy bars (2.1 oz each), crushed (plus extra for topping)
Variations
One of the best things about this recipe is its flexibility! Feel free to get creative and customize it to suit your taste or what you have on hand.
- Add more crunch: Toss in some crushed peanuts or pretzels for an extra salty-sweet flavor.
- Change the toppings: Use other favorite candy bars instead of Butterfinger—Snickers or Reese’s could be fantastic options!
- Make it chocolatey: Drizzle some chocolate syrup on top before serving for an indulgent twist.
- Try different nut butters: Swap out creamy peanut butter for almond or cashew butter if you want to mix things up!
How to Make Butterfinger Pie with Peanut Butter
Step 1: Prepare the Crust
Start by mixing your graham cracker crumbs with melted butter in a medium bowl until they are well combined. Press this mixture firmly into the bottom and up the sides of a 9-inch pie dish. This step forms a sturdy base for your filling and ensures every bite has that delicious crust flavor! Once done, pop it in the refrigerator while you whip up the filling.
Step 2: Make the Filling
In a large bowl, beat together your creamy peanut butter and softened cream cheese until smooth—about 2 minutes will do! This mixture should be rich and velvety. Next, add in powdered sugar and vanilla extract. Mix again until everything is well blended and creamy; this gives your pie that amazing flavor we all love.
Step 3: Fold in Whipped Topping
Now, it’s time to lighten up our filling! Gently fold in your whipped topping until just combined. Be careful not to overmix; we want that airy texture that makes each bite melt-in-your-mouth delicious.
Step 4: Add Butterfinger Pieces
Crush three of your Butterfinger bars—save one for topping—and fold those yummy pieces into your peanut butter mixture. The crunch from these candies adds such fun texture to this dessert!
Step 5: Assemble the Pie
Pour your filling into the prepared crust, smoothing out the top with a spatula so it’s nice and even. This step ensures every slice looks as good as it tastes!
Step 6: Add Topping
Take your remaining Butterfinger bar and crush it up; sprinkle those glorious bits evenly over the top of your pie. It adds not only flavor but also an appealing look!
Step 7: Chill
Cover your pie with plastic wrap and refrigerate it for at least four hours—or overnight if you can wait! This chilling time allows everything to set properly, making cutting into it much easier later on.
Step 8: Serve
When you’re ready to enjoy your delicious creation, slice up some pieces and serve! For clean cuts, dip your knife into hot water before wiping it dry between slices. Trust me; everyone will be asking for seconds!
Enjoy making this unforgettable Butterfinger Pie with Peanut Butter—it’s sure to become one of your favorites too!
Pro Tips for Making Butterfinger Pie with Peanut Butter
Creating the perfect Butterfinger Pie with Peanut Butter is all about those little details that can elevate your dessert. Here are some tips to ensure your pie comes out irresistible!
-
Use room temperature ingredients: Allow your cream cheese and whipped topping to come to room temperature before mixing. This helps create a smoother filling without lumps.
-
Crush the Butterfinger bars finely: For an even distribution of flavor and texture, crush the Butterfinger bars into small pieces. This will ensure that every slice has that delightful crunch in every bite.
-
Chill properly: Be sure to refrigerate the pie for at least 4 hours or overnight if possible. This allows the filling to set properly, making it easier to slice and serve.
-
Experiment with toppings: While crushed Butterfinger bars are delicious, consider drizzling melted chocolate or caramel sauce over the top for added sweetness and visual appeal.
-
Substitute as needed: If you’re looking for a lighter option, you can use reduced-fat cream cheese and whipped topping without sacrificing too much flavor.
How to Serve Butterfinger Pie with Peanut Butter
Presentation can make all the difference when serving this delightful dessert! Here are some ideas on how to showcase your Butterfinger Pie beautifully.
Garnishes
- Chocolate drizzle: A simple drizzle of melted chocolate over the top adds elegance and extra sweetness.
- Peanut butter drizzle: Warm a bit of peanut butter in the microwave and drizzle it over the pie for a beautiful presentation and an extra hit of flavor.
- Whipped cream: Adding dollops of whipped cream around the pie not only looks beautiful but also adds a creamy texture that complements the pie perfectly.
Side Dishes
- Fresh fruit salad: A refreshing mix of seasonal fruits adds a burst of color and balances out the richness of the pie.
- Vanilla ice cream: The creamy, sweet taste of vanilla ice cream pairs wonderfully with the crunchy texture of the pie, offering a delightful contrast.
- Chocolate mousse: For chocolate lovers, serving a light chocolate mousse alongside provides an indulgent touch that enhances the overall dessert experience.
- Coffee or tea: A warm cup of coffee or herbal tea can complement the flavors in your pie beautifully while providing a nice contrast to its sweetness.
Enjoy serving your delicious Butterfinger Pie with Peanut Butter! It’s sure to be a hit at any gathering!
Make Ahead and Storage
This Butterfinger Pie with Peanut Butter is perfect for meal prep and can be made in advance for any occasion. It’s a fantastic dessert that saves time, allowing you to focus on enjoying your gathering without the stress of last-minute cooking.
Storing Leftovers
- Store leftovers in the refrigerator covered with plastic wrap or in an airtight container.
- The pie will stay fresh for about 3-4 days.
- If you notice any excess moisture, you can gently dab it away with a paper towel before serving.
Freezing
- This pie can be frozen for up to 2 months!
- To freeze, slice the pie and wrap individual slices tightly in plastic wrap, then place them in a freezer-safe container.
- Thaw in the refrigerator overnight before serving.
Reheating
- This dessert is best served cold and doesn’t require reheating.
- If you prefer a slightly softer texture, let it sit at room temperature for about 15-20 minutes before serving.
FAQs
Here are some common questions about making this delightful Butterfinger Pie with Peanut Butter.
Can I use crunchy peanut butter instead of creamy?
Absolutely! Using crunchy peanut butter will add an extra layer of texture to your Butterfinger Pie with Peanut Butter, making each bite even more satisfying.
How long does Butterfinger Pie with Peanut Butter need to chill?
For the best results, refrigerate your Butterfinger Pie with Peanut Butter for at least 4 hours or overnight. This allows it to set properly and enhances the flavors!
Is there a way to make this pie healthier?
You can try using reduced-fat cream cheese and whipped topping, or substitute some of the powdered sugar with a sugar alternative if you’re looking to cut down on calories.
Can I use another type of candy instead of Butterfinger?
Certainly! Feel free to experiment with other candy bars like Snickers or Reese’s Pieces. Just make sure to check that they align with your dietary preferences.
Final Thoughts
I hope you find joy in creating this delicious Butterfinger Pie with Peanut Butter! It’s not just a treat but also a sweet memory-maker for gatherings and celebrations. Enjoy each creamy, crunchy bite, and don’t hesitate to share this recipe with friends and family. Happy baking!
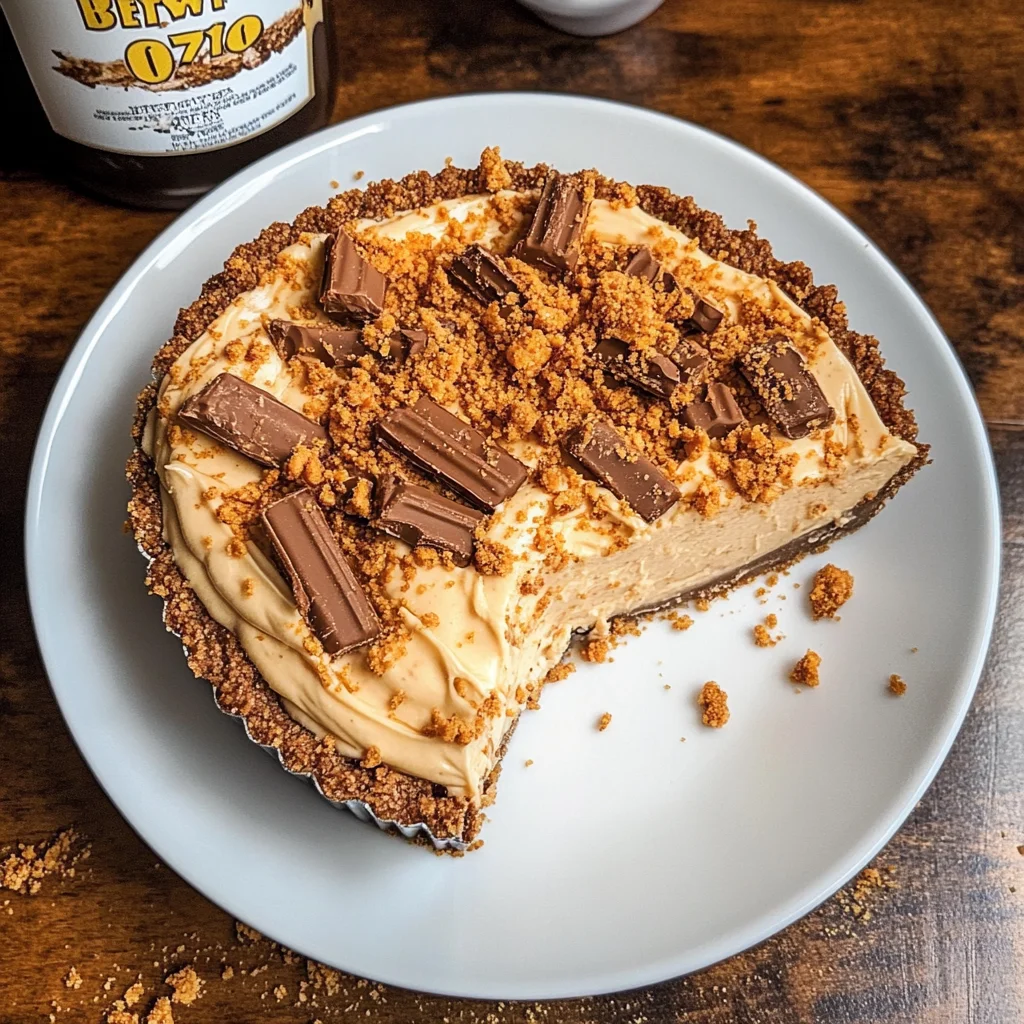
Butterfinger Pie with Peanut Butter
If you’re on the hunt for an impressive yet simple dessert, look no further than this Butterfinger Pie with Peanut Butter. This delightful no-bake treat combines the rich creaminess of peanut butter with the crunchy goodness of Butterfinger candy bars, making it a crowd-pleaser for any occasion. Whether it’s a family gathering, a birthday celebration, or just a cozy evening at home, this pie is sure to bring smiles all around. With only 30 minutes of prep time and no baking required, you can whip up this delicious dessert in a flash!
- Prep Time: 30 minutes
- Cook Time: None
- Total Time: 0 hours
- Yield: Serves 8
- Category: Dessert
- Method: No-bake
- Cuisine: American
Ingredients
- 2 cups graham cracker crumbs
- 1/2 cup unsalted butter, melted
- 1 cup creamy peanut butter
- 8 oz cream cheese, softened
- 1 cup powdered sugar
- 1 tsp vanilla extract
- 8 oz whipped topping, thawed
- 4 Butterfinger candy bars, crushed
Instructions
- Prepare the crust by mixing graham cracker crumbs with melted butter. Press firmly into the bottom and sides of a 9-inch pie dish. Refrigerate while making the filling.
- In a large bowl, beat together creamy peanut butter and softened cream cheese until smooth. Add powdered sugar and vanilla; mix until creamy.
- Gently fold in whipped topping until combined.
- Fold in three crushed Butterfinger bars into the mixture.
- Pour filling into the prepared crust, smoothing out the top with a spatula.
- Sprinkle remaining crushed Butterfinger on top.
- Cover with plastic wrap and refrigerate for at least four hours before serving.
Nutrition
- Serving Size: 1 serving
- Calories: 310
- Sugar: 24g
- Sodium: 210mg
- Fat: 20g
- Saturated Fat: 9g
- Unsaturated Fat: 10g
- Trans Fat: 0g
- Carbohydrates: 30g
- Fiber: 2g
- Protein: 5g
- Cholesterol: 35mg